This install and review is based on the TEIN EDFC Active kit that changes your coilover stiffness based on speed and acceleration. To sum it up, this is the only mod where my wife said my car improved (of course I think all my mods have done that haha).
Ive had this kit running since October 2013 and it was very new back then but Im just now getting around to making this thread. If anyone else has this product (or the PRO version) and has more input or better input, please add it to this thread. Its really a great product and I hope this thread either a) helps someone determine if the kit is right for them, or b) help someone install the kit on their own.
This is NOT the regular EDFC kit....this is the "wireless" one that can change your front and rear damping automatically based on your driving conditions (no user input). This is only compatible with TEIN coilovers.
TEIN link: TEIN.com: EDFC ACTIVE - PRODUCTS
TEIN promo video: The only DIY install I could find when I received my product: DIY: Tein EDFC Active Install - Scion FR-S Forum | Subaru BRZ Forum | Toyota 86 GT 86 Forum | AS1 Forum - FT86CLUB
I bought the EDFC Active kit new from XLR8 back in October 2013 and bought used motors "for the TL" from AZ member Kennedy, wired everything up and then when I went to the last step, putting on the motors, I was stuck because the motors were not the right thread size. AZ member Kennedy sold me motors that DO NOT FIT the TL, REFUSED to acknowledge that both me and TEIN reps said the motors would never work on a TEIN setup for the TL, and REFUSED to even try to refund me any money, even when I said I would take less than I paid him for them. Its pathetic people like him that ruin the trust on the forum
Later that week I got the new motors I had to buy from XLR8 and props to Josh at XLR8 for getting them out to me asap since Kennedy screwed me. if he ever mans up for a refund i still have them laying useless in my closet...enough on the rant, it will come around to those that deserve it.
INSTALL
Here's the box for the kit, along with all the inside contents laid out.
![]()
![]()
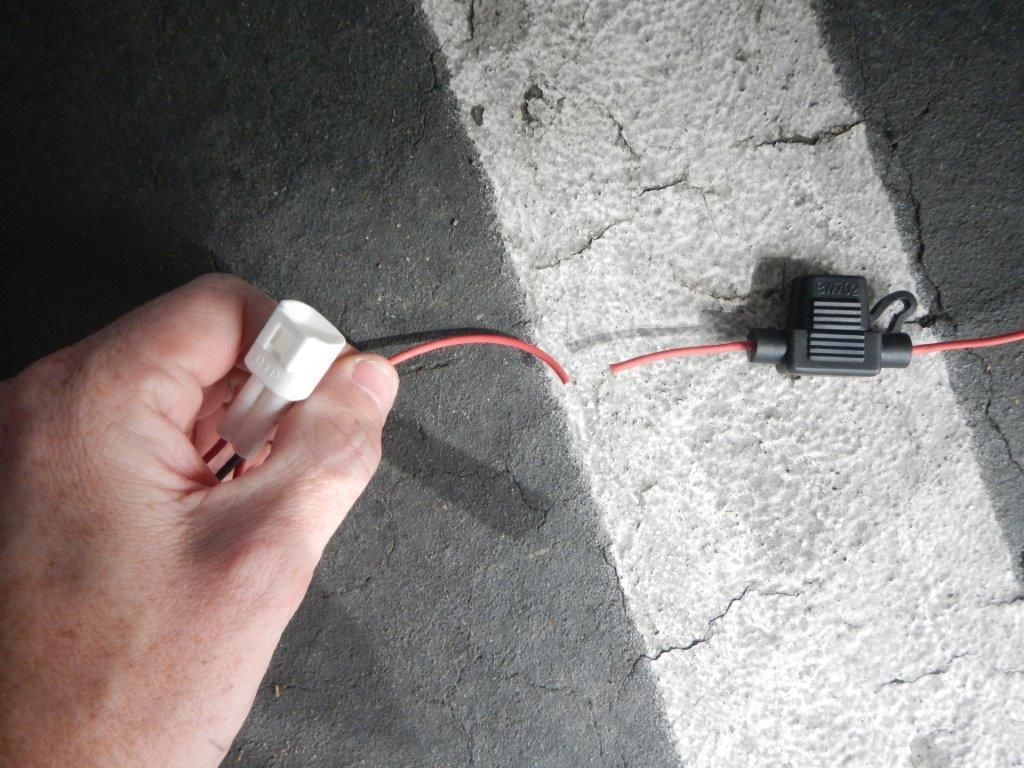
On my own I bought silicone sealant, white lithium grease, and 3 add-a-fuse circuits. You could tap the front and rear into nearby powered wires, but in talking with the RallyDirect guy in the DIY link above, he mentioned that they powered with one wire and ended up blowing fuses. He recommended using a separate fuse for each power wire to avoid any blown fuses. That is why I ran the wires up to the fuse box and used an add a fuse for each one.
![]()
these are the "wireless" controllers, one for the front and one for the rear. they are wireless when communicating to the main control unit inside the car, but they still need power input and also provide power to each of the motors (3 wires, so 1 wire to each coilover in the front or back, and one for power).
![]()
this is the main control unit and display that goes inside your car.
![]()
these are the cords that go from the front or back controller to each of the coilovers
![]()
this is the optional GPS unit. this is an extra charge but worth it. the EDFC Active kit on it's own changes the damping based on g-forces (accelerating and braking), but the GPS kit also adds in adjustments based on speed range, giving full dynamic damping. For example, its a certain setting from 0-25 mph, then gets stiffer when 26-40 mph, stiffer 41-50, stiffer 51-65 and stiffer more after 65 mph (you can change the speed range also) and this is before the damping changes based on g-forces.
![]()
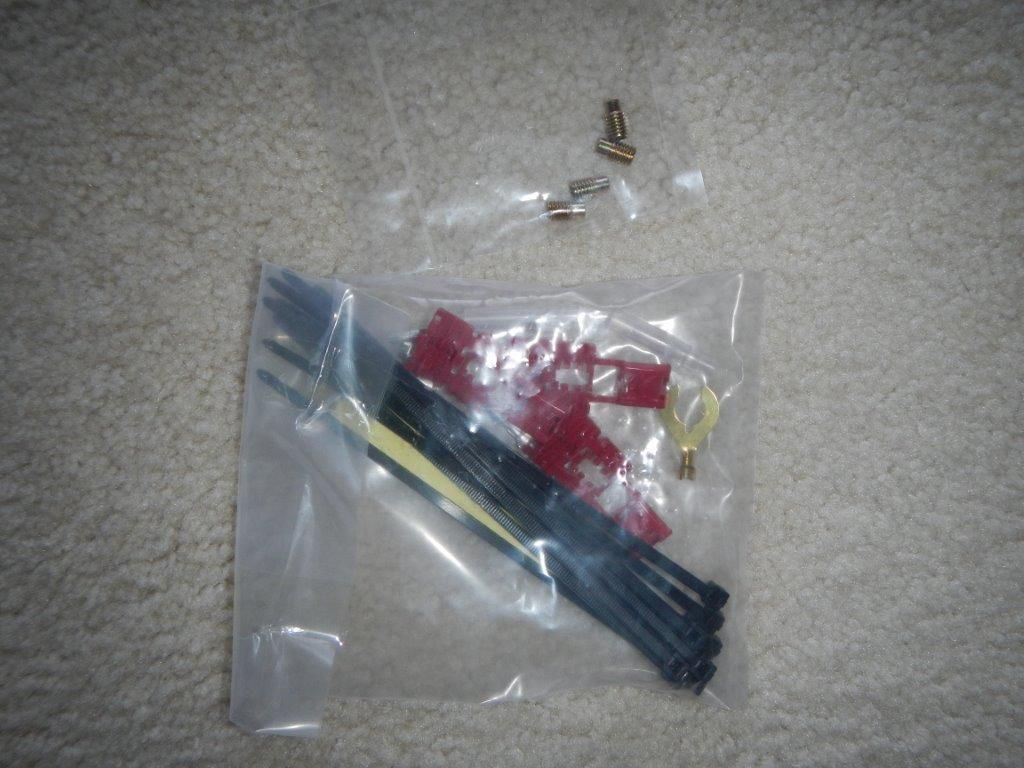
power cords, zip ties, and connectors
![]()
![]()
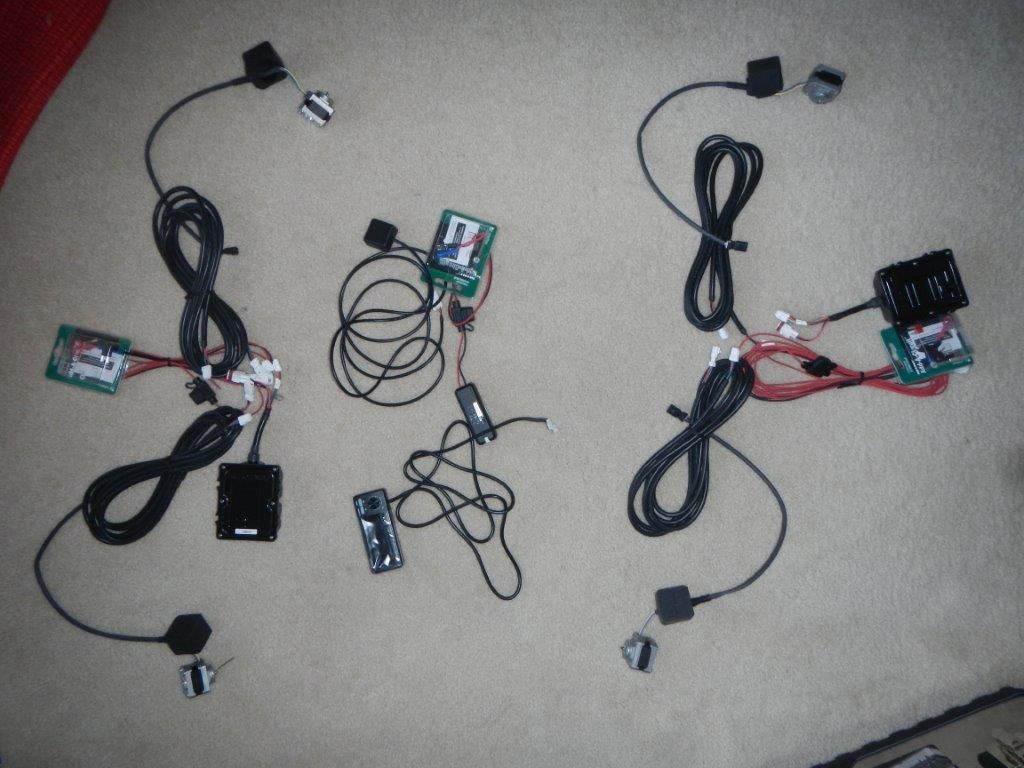
i did a "mock" install and laid out how it would wire up on my floor. the left is the front which includes a controller, a power cord, add a fuse, two cables to the coilovers, and the two motors. the right is the same but for the rear. in the middle is the GPS sensor, the main control unit, and the add a fuse.
![]()
THE REAR INSTALL
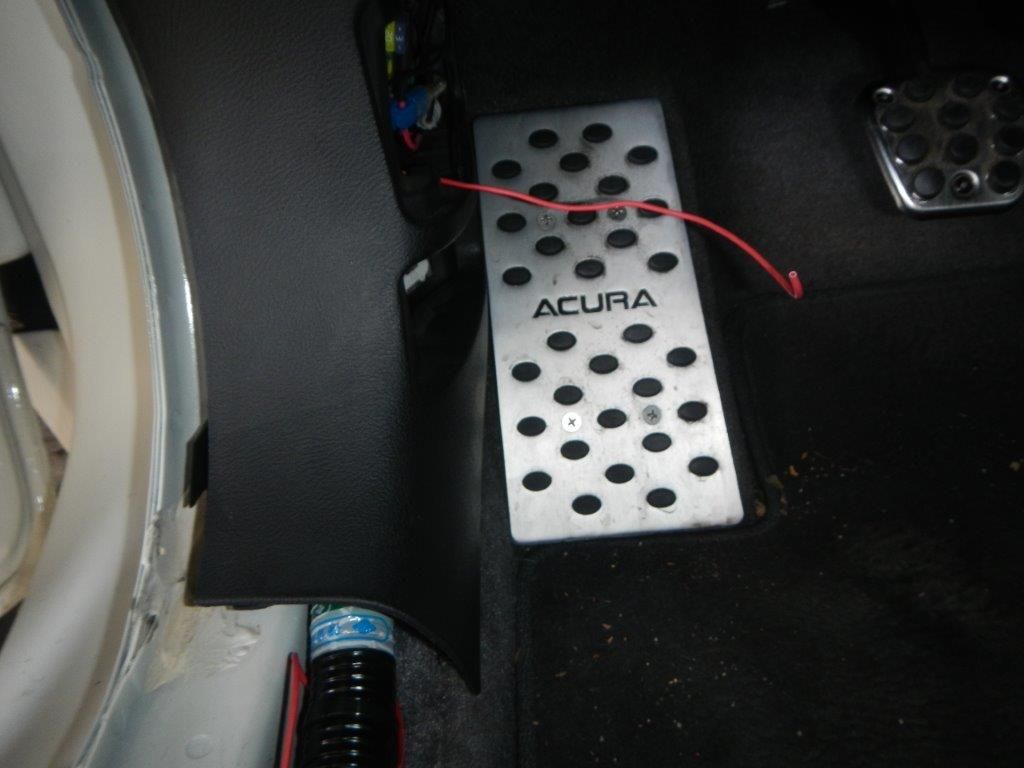
First I connected the add a fuses to the interior fuse box and ran the rear controller power wire under the driver side door sills (wiring is a little messy, some of those are for my LED door sills)
![]()
![]()
![]()
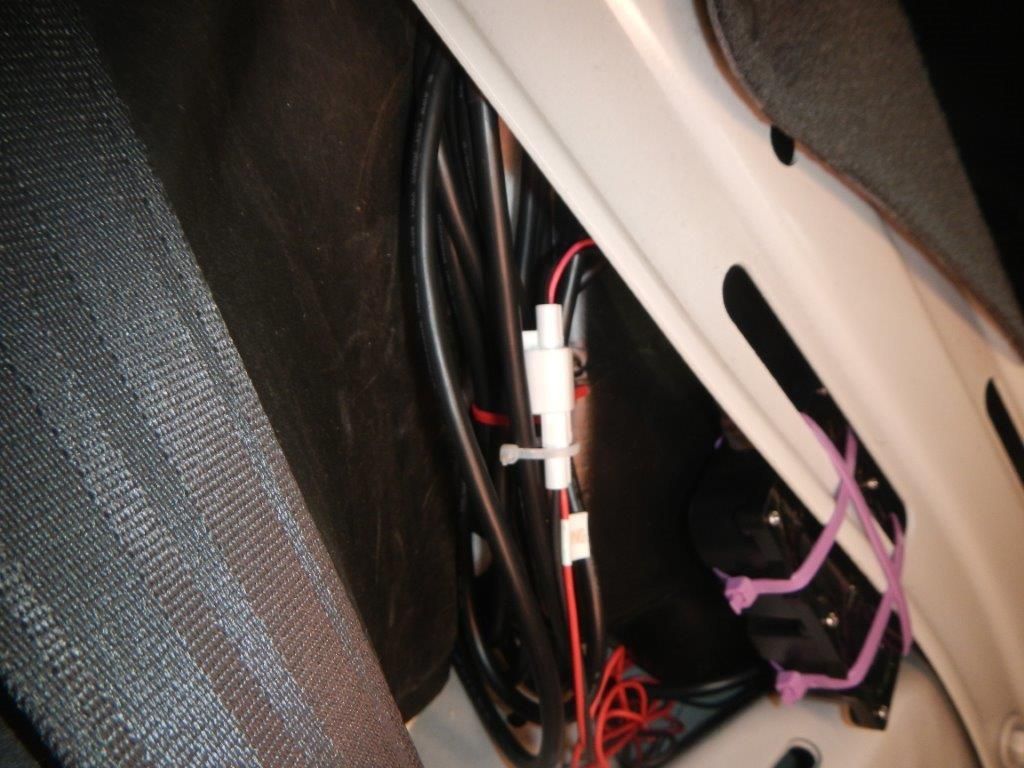
I then went up the frame for the rear seat and zip tied the power cord to the yellow covered cables. Then I came back down through the triangle opening (ziptied to frame) to place the grounding point underneath the trunk carpet.
![]()
![]()
![]()
![]()
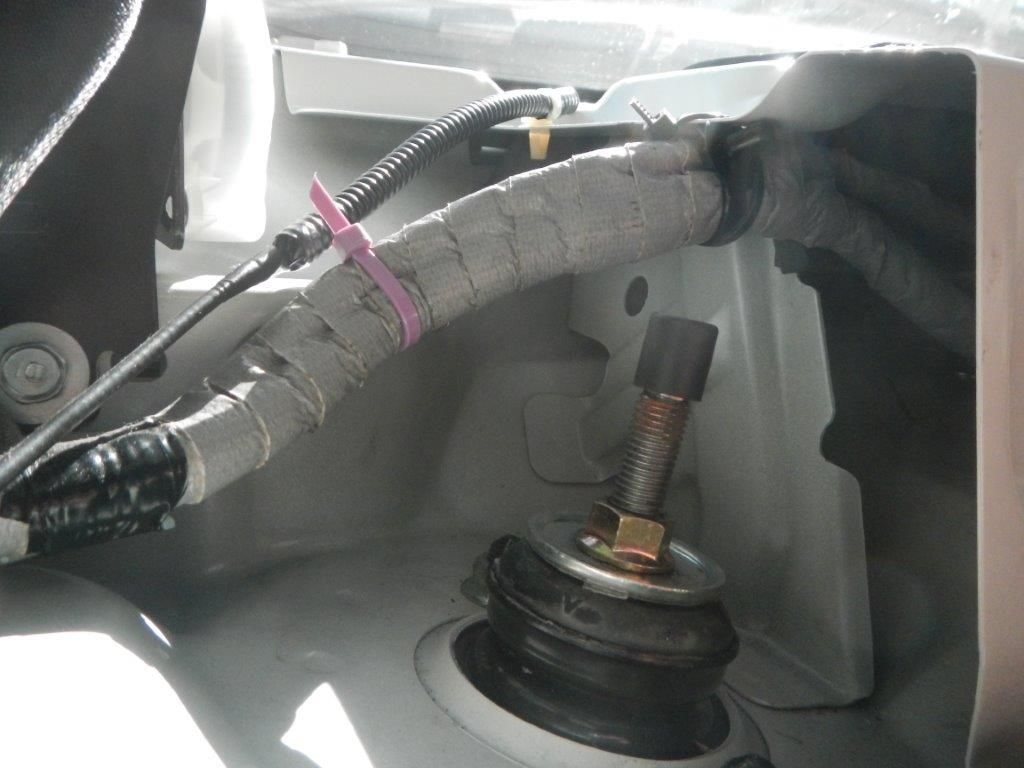
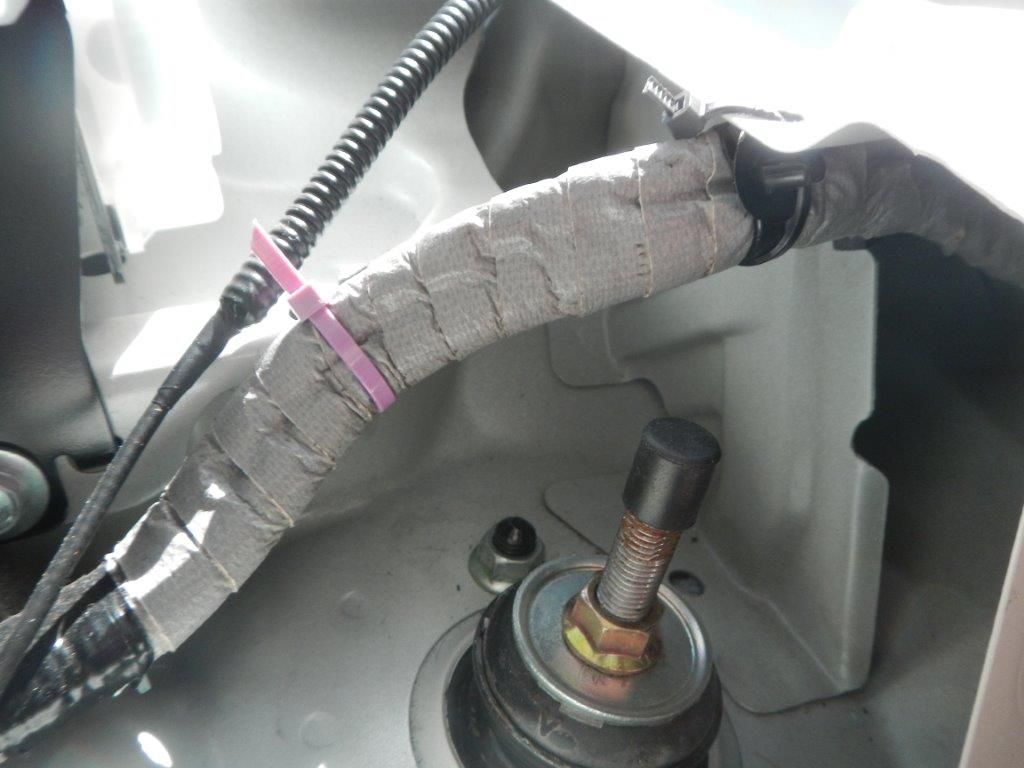
Next, I started to make room on top of the coilovers so that I could place the motors on the coilovers. On the drivers rear side I ziptied the cable bundle as far away as possible from the top of the coilover while still using each of the OEM cable ties and mounts.
![]()
![]()
Final setup rear driver
![]()
For the passenger rear side, I had to take out some of the OEM cable mounts and then ziptied the bundle away from the coilover otherwise the motor wouldnt fit on that side.
![]()
![]()
![]()
Final setup rear passenger
![]()
I then mounted the rear controller on the rear passenger side, using the triangle in the frame. There is a nice nook behind the frame where the controller can sit and be ziptied snug. There is also some room for airflow since the controllers get warm under operation. The first two show the original wiring and the later pics show it cleaned up later.
![]()
![]()
![]()
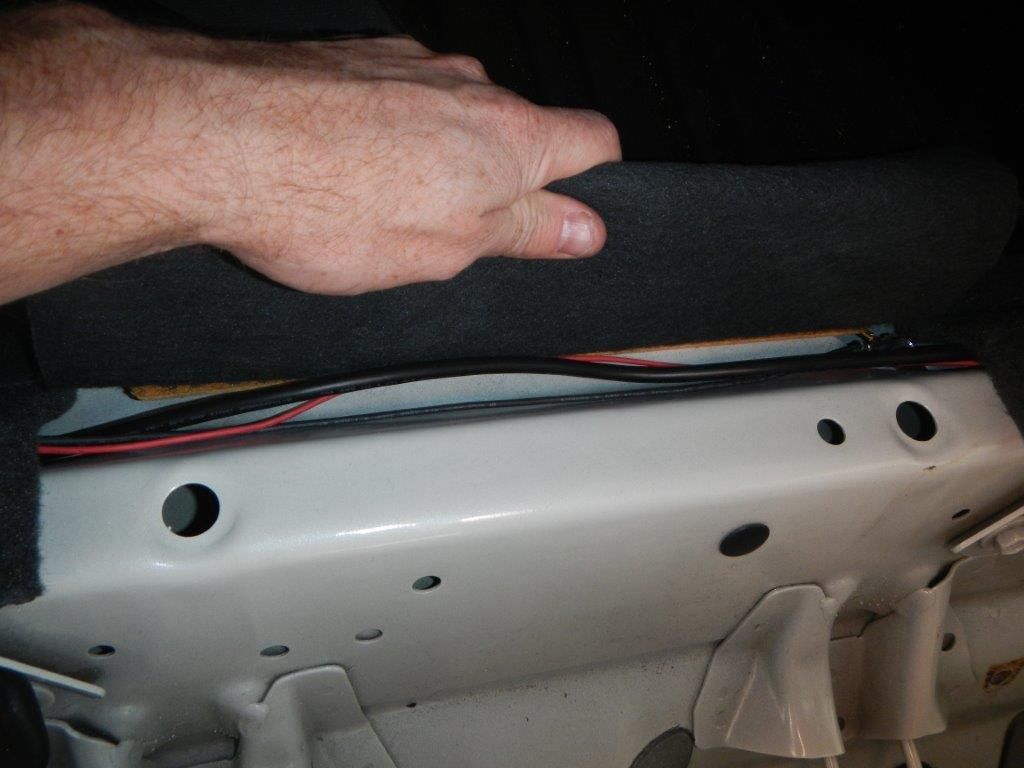
The power cord and the rear drivers side coilover cable were run under the trunk carpet behind the seats.
![]()
THE FRONT INSTALL
The front is an easier install because the wiring doesnt need to go far and there is better access.
The hardest part of the front install is locating the grommet covering the hole in the firewall and routing the power wire through. The hole can be seen where the yellow foam is this is after the grommet was removed (grommet shown later). The hole is in the very center of the engine bay
![]()
![]()
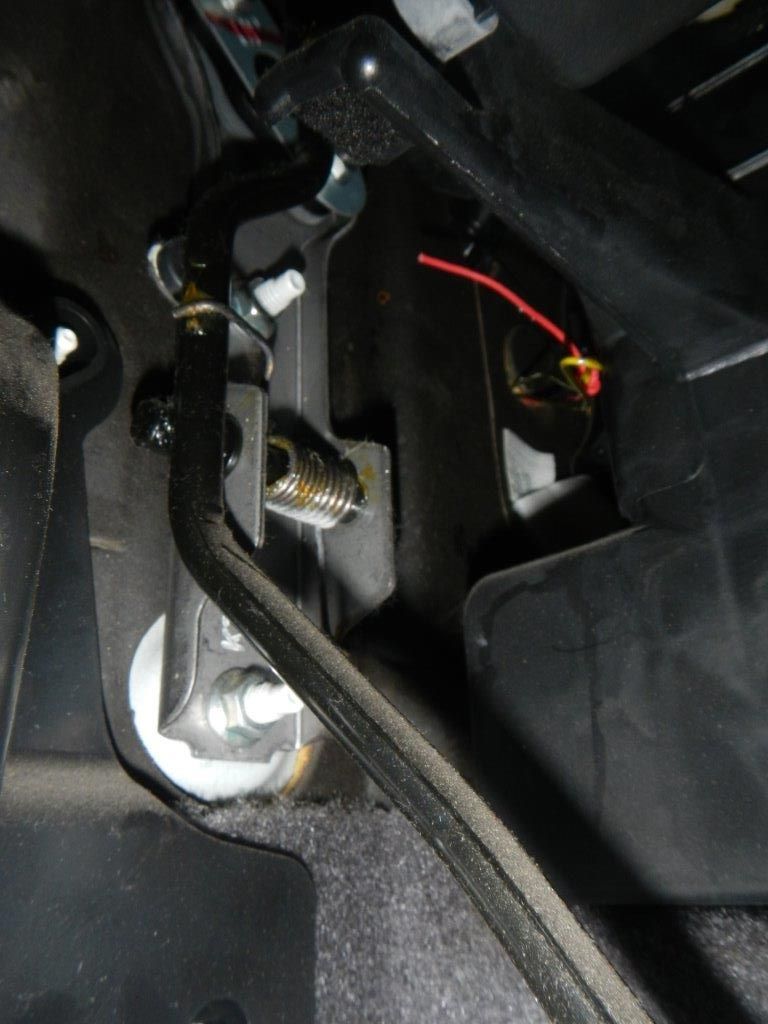
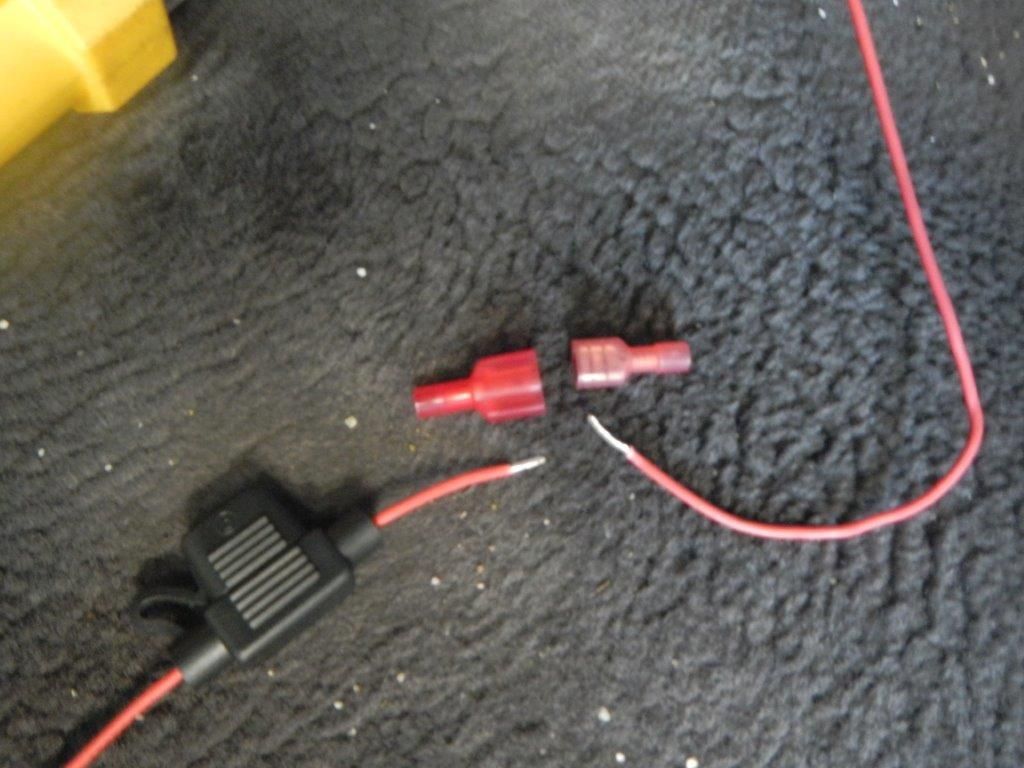
You have to cut the power cord to get it through easier and avoid tugging on the actual connectors. I cut the power cord on the engine bay side and wrapped it around a metal hanger and stuck it through the firewall. You can see where it pops up on the other side (interior of car, behind the radio/nav system). After it comes through, reconnect the wires by crimping or soldering.
![]()
![]()
![]()
![]()
![]()
![]()
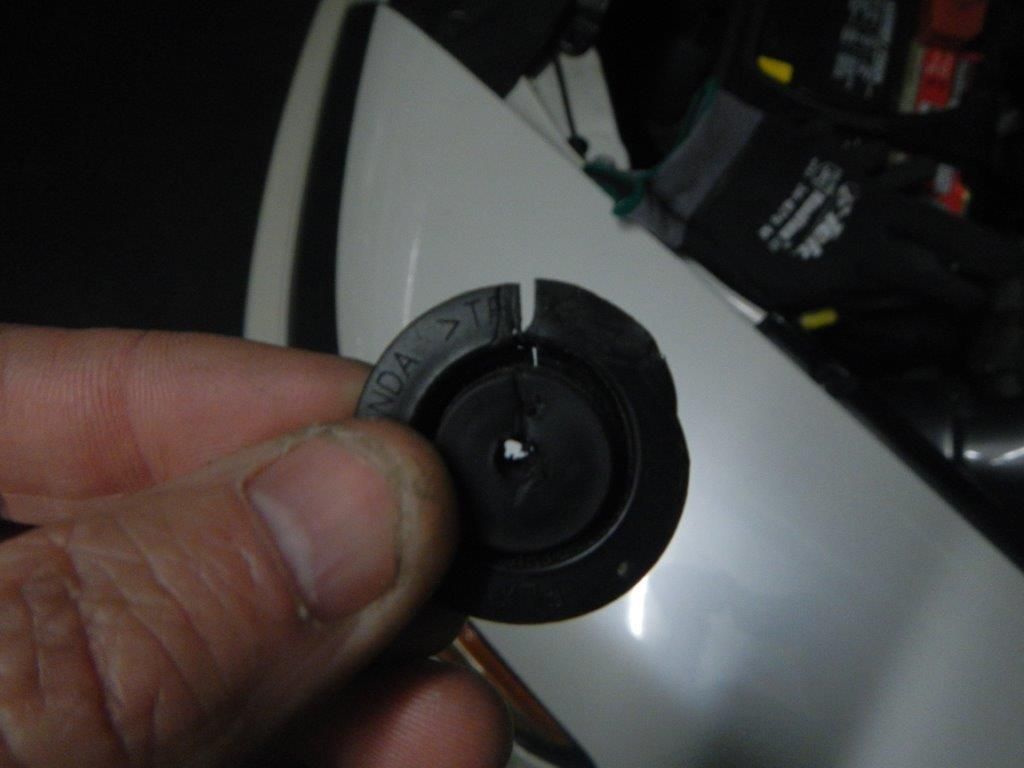
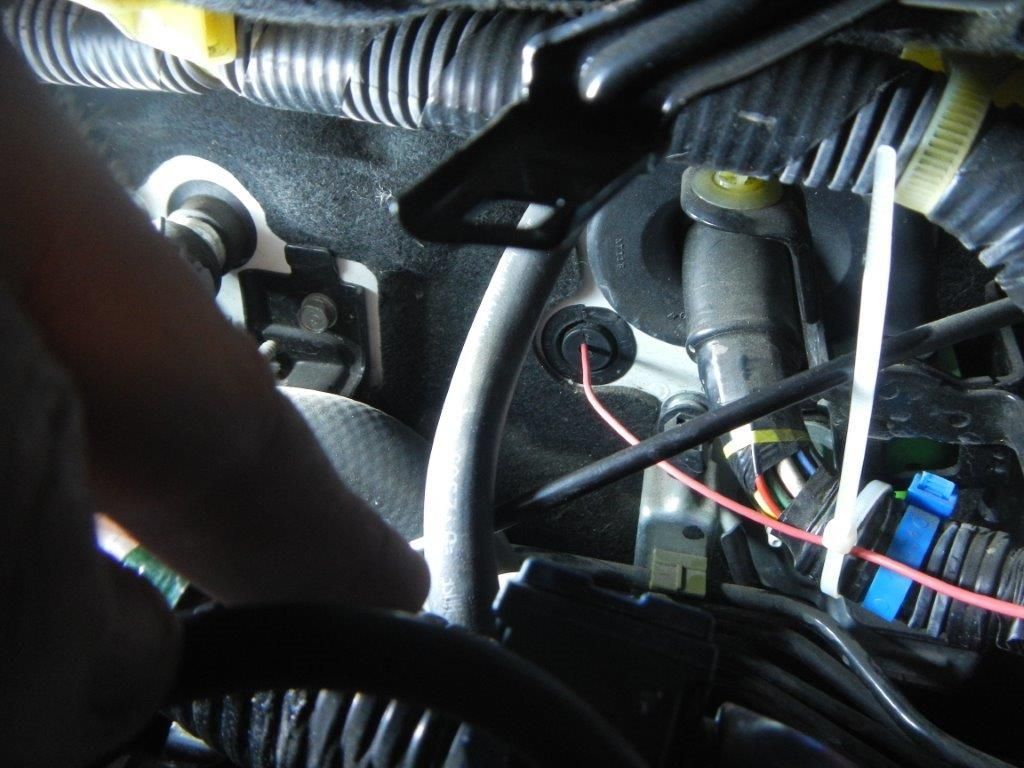
This is the grommet and the cord after going through the firewall. I cut a slit in the grommet for the wire.
![]()
![]()
![]()
For a ground, I just chose an existing ground location next to the upper transmission mount.
![]()
I didnt take pictures of it, but for the coilover cables I just ran it along the accelerator cable and zip tied it to similar brackets. After I put each rubber motor cover on the motors, I sealed off the bottom of the cover with silicone sealant just to be safe. TEIN said this is not necessary unless the motors are inverted, but I figure this would keep out dust and water since this is my daily driver. I also sealed up all connectors at the point where the wires lead into the connectors.
I mounted the front driver unit next to the fuse box under the hood. Its in an area that is not directly exposed to high temperatures or water, and so far there have been no issues. I emailed TEIN these pics and they said there shouldnt be any problem with that location.
![]()
![]()
The EDFC Active kit has many different display colors, brightness levels, automatic dimming, etc, I decided to go with red to match the Type S interior. The display unit just has double sided tape and it stays on firm. I then routed the power cable and the gps cord towards the steering wheel area and under the dash. You can also see where I placed the GPS sensor, its the black box on the dash near the left side above the vent. It has to have a somewhat open area to link up to satellites
![]()
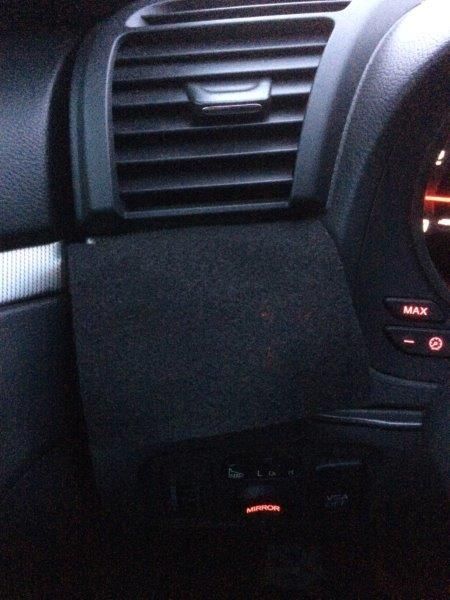
I also put some black Velcro under the air vent (not visible) and made my own small felt cover. I only put the cover on when I park in a sketchy area so that people cant see the display unit when Im not in the car. When I drive, the cover is never on, its in my door pocket. Just the Velcro is there all the time and its not noticeable since its on the underside of a ledge.
![]()
Ive had this kit running since October 2013 and it was very new back then but Im just now getting around to making this thread. If anyone else has this product (or the PRO version) and has more input or better input, please add it to this thread. Its really a great product and I hope this thread either a) helps someone determine if the kit is right for them, or b) help someone install the kit on their own.
This is NOT the regular EDFC kit....this is the "wireless" one that can change your front and rear damping automatically based on your driving conditions (no user input). This is only compatible with TEIN coilovers.
TEIN link: TEIN.com: EDFC ACTIVE - PRODUCTS
TEIN promo video: The only DIY install I could find when I received my product: DIY: Tein EDFC Active Install - Scion FR-S Forum | Subaru BRZ Forum | Toyota 86 GT 86 Forum | AS1 Forum - FT86CLUB
I bought the EDFC Active kit new from XLR8 back in October 2013 and bought used motors "for the TL" from AZ member Kennedy, wired everything up and then when I went to the last step, putting on the motors, I was stuck because the motors were not the right thread size. AZ member Kennedy sold me motors that DO NOT FIT the TL, REFUSED to acknowledge that both me and TEIN reps said the motors would never work on a TEIN setup for the TL, and REFUSED to even try to refund me any money, even when I said I would take less than I paid him for them. Its pathetic people like him that ruin the trust on the forum
Later that week I got the new motors I had to buy from XLR8 and props to Josh at XLR8 for getting them out to me asap since Kennedy screwed me. if he ever mans up for a refund i still have them laying useless in my closet...enough on the rant, it will come around to those that deserve it.
INSTALL
Here's the box for the kit, along with all the inside contents laid out.
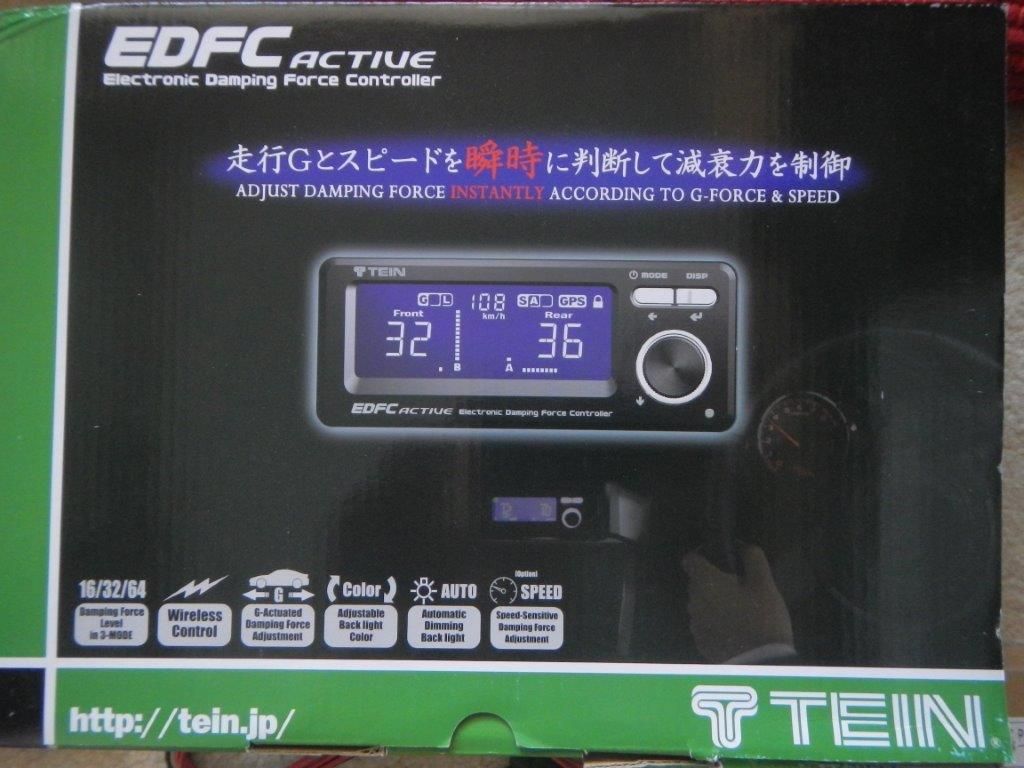
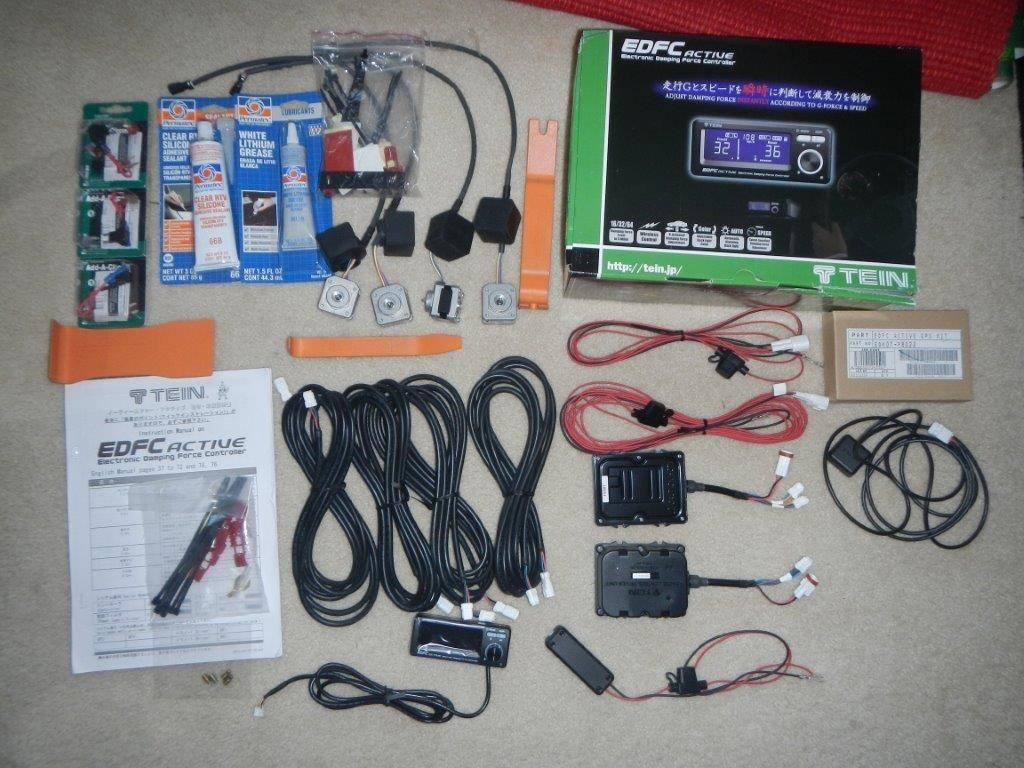
On my own I bought silicone sealant, white lithium grease, and 3 add-a-fuse circuits. You could tap the front and rear into nearby powered wires, but in talking with the RallyDirect guy in the DIY link above, he mentioned that they powered with one wire and ended up blowing fuses. He recommended using a separate fuse for each power wire to avoid any blown fuses. That is why I ran the wires up to the fuse box and used an add a fuse for each one.

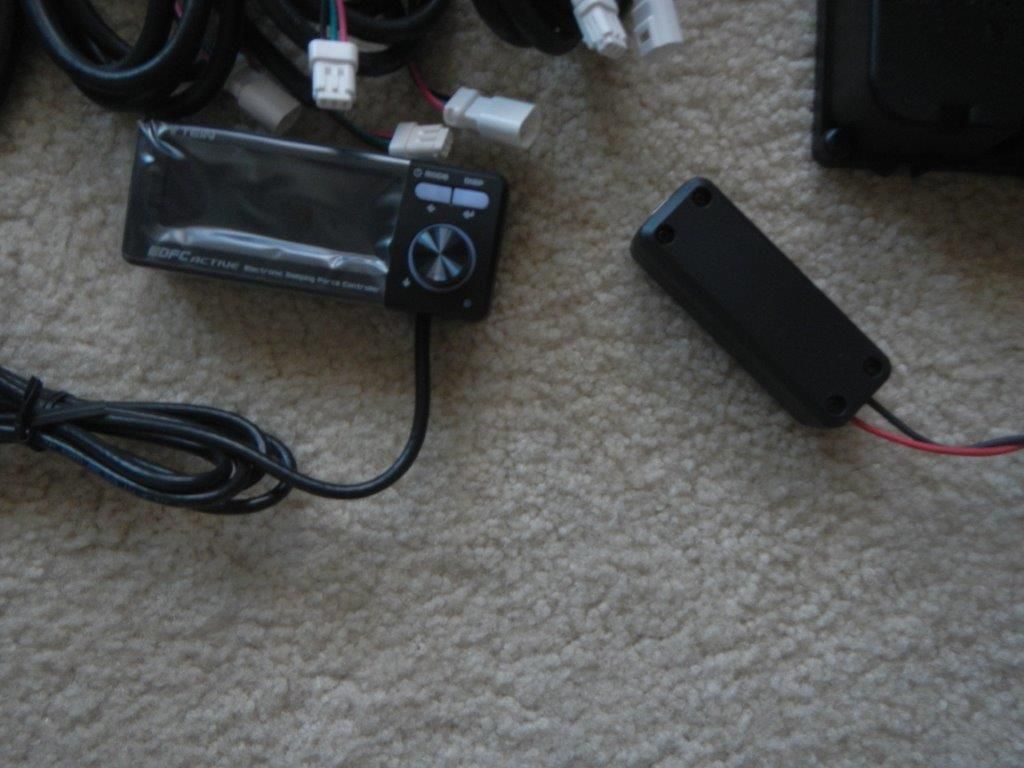
these are the "wireless" controllers, one for the front and one for the rear. they are wireless when communicating to the main control unit inside the car, but they still need power input and also provide power to each of the motors (3 wires, so 1 wire to each coilover in the front or back, and one for power).
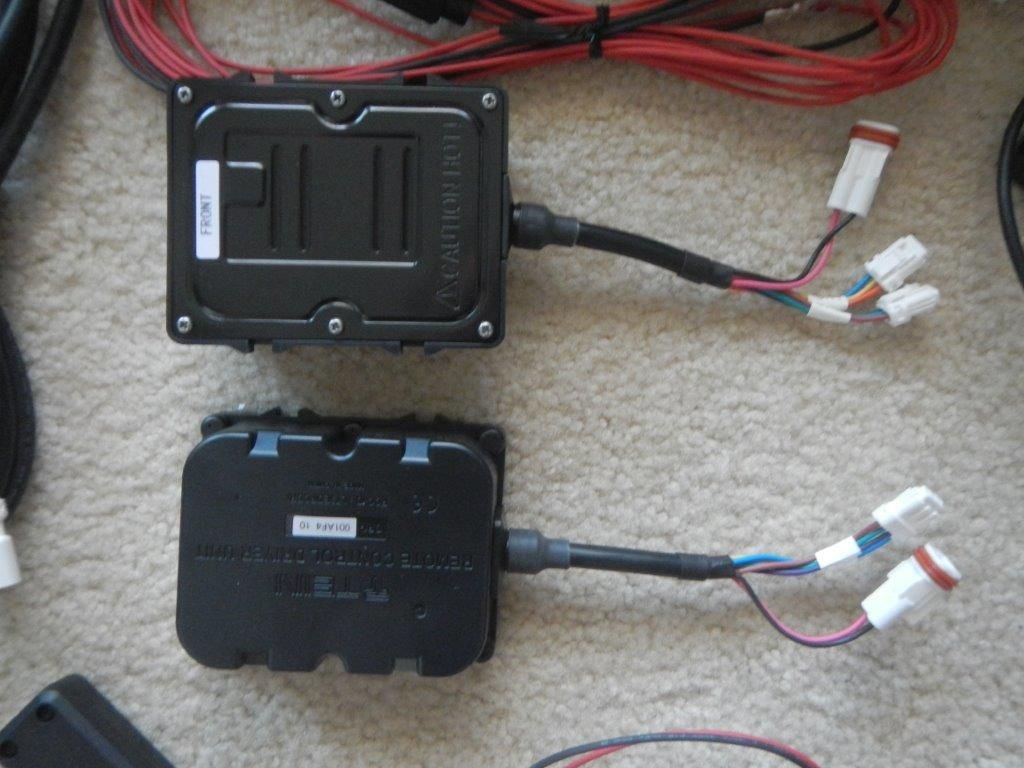
this is the main control unit and display that goes inside your car.
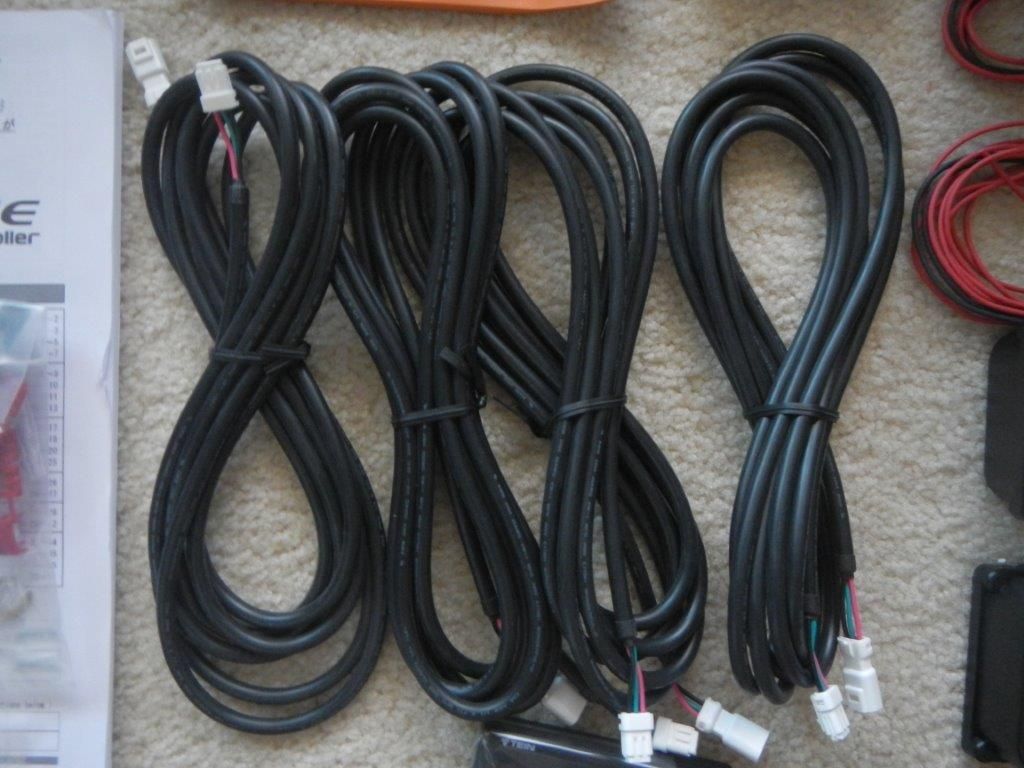
these are the cords that go from the front or back controller to each of the coilovers
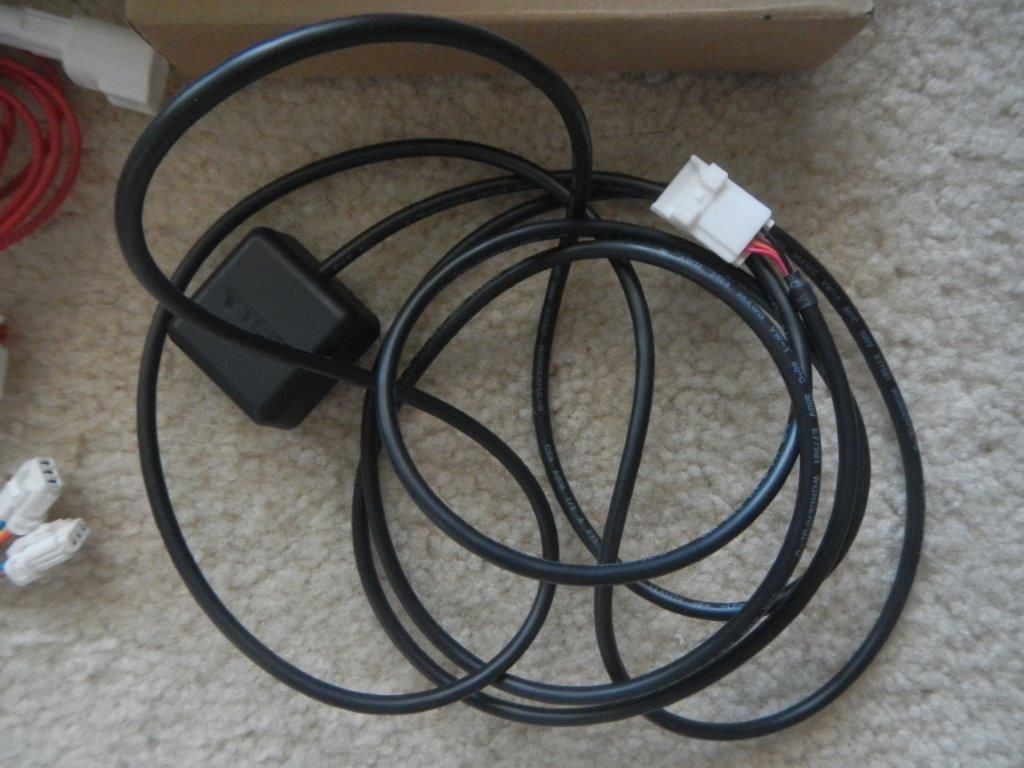
this is the optional GPS unit. this is an extra charge but worth it. the EDFC Active kit on it's own changes the damping based on g-forces (accelerating and braking), but the GPS kit also adds in adjustments based on speed range, giving full dynamic damping. For example, its a certain setting from 0-25 mph, then gets stiffer when 26-40 mph, stiffer 41-50, stiffer 51-65 and stiffer more after 65 mph (you can change the speed range also) and this is before the damping changes based on g-forces.
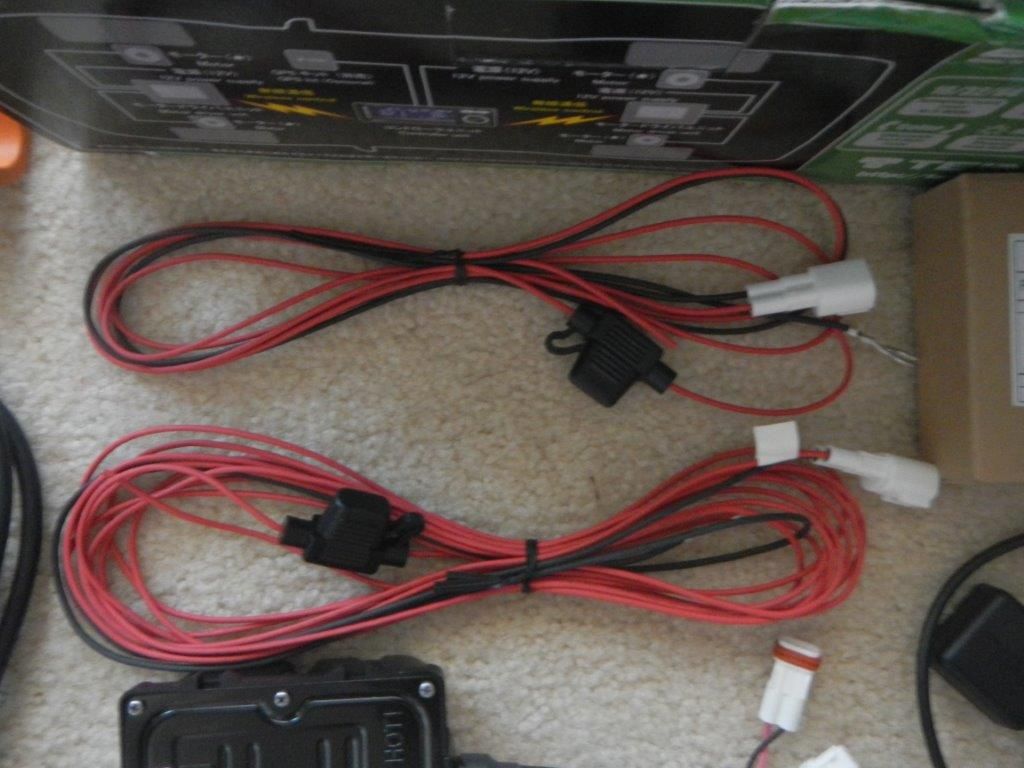
power cords, zip ties, and connectors
i did a "mock" install and laid out how it would wire up on my floor. the left is the front which includes a controller, a power cord, add a fuse, two cables to the coilovers, and the two motors. the right is the same but for the rear. in the middle is the GPS sensor, the main control unit, and the add a fuse.
THE REAR INSTALL
First I connected the add a fuses to the interior fuse box and ran the rear controller power wire under the driver side door sills (wiring is a little messy, some of those are for my LED door sills)
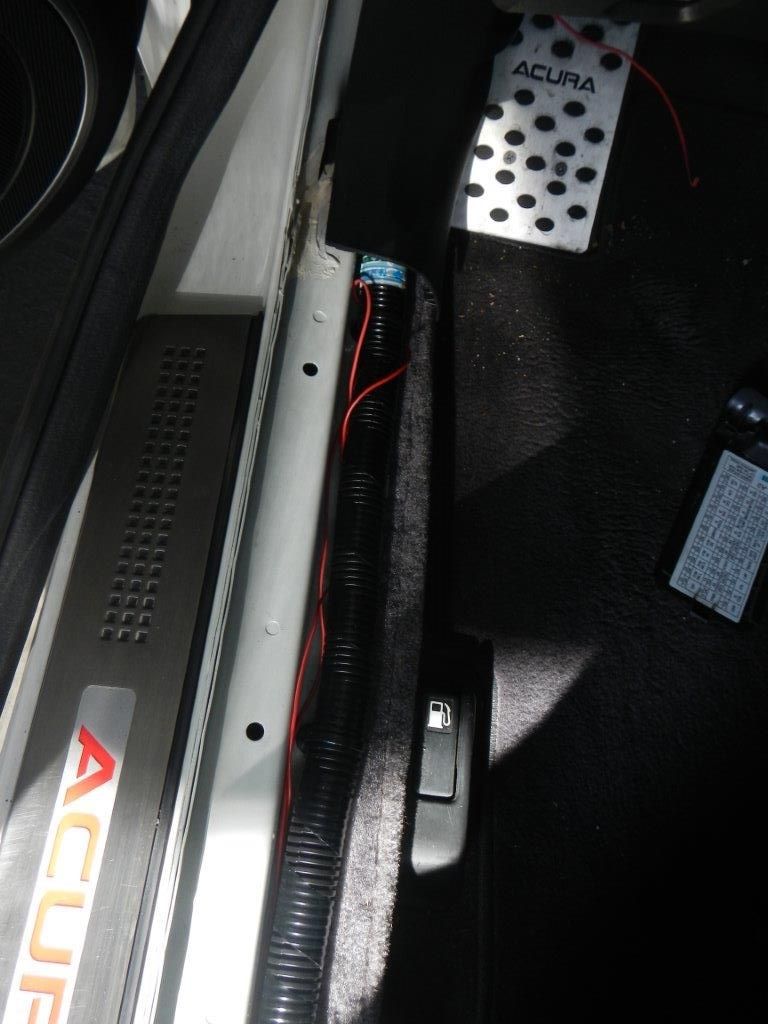
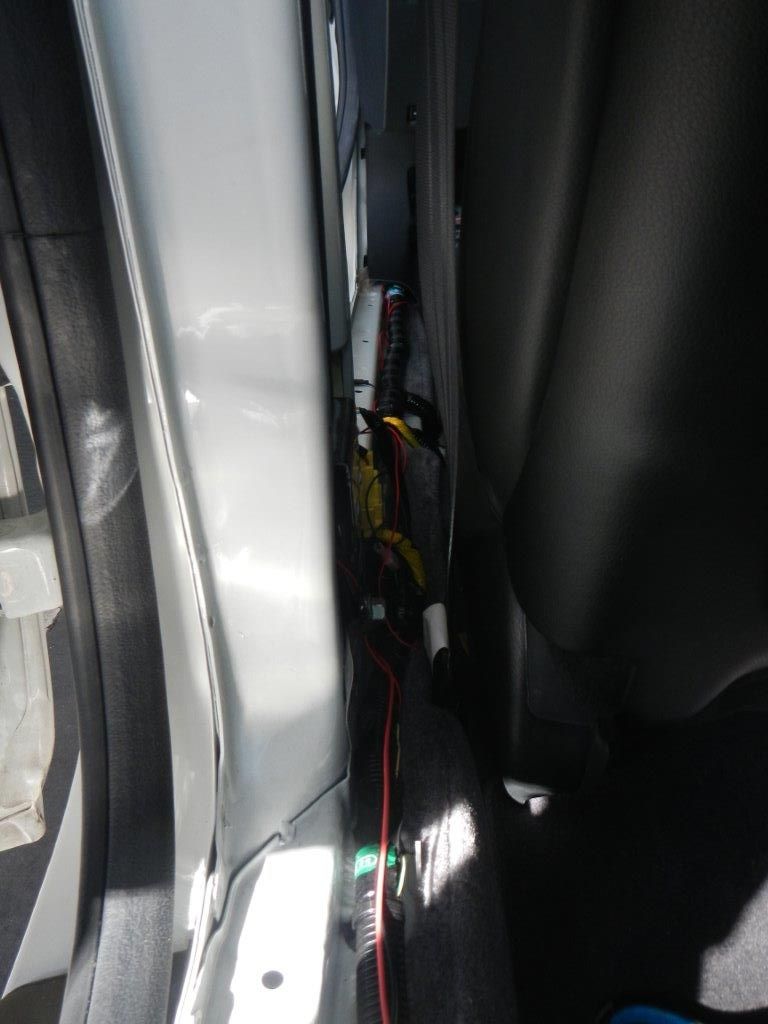
I then went up the frame for the rear seat and zip tied the power cord to the yellow covered cables. Then I came back down through the triangle opening (ziptied to frame) to place the grounding point underneath the trunk carpet.
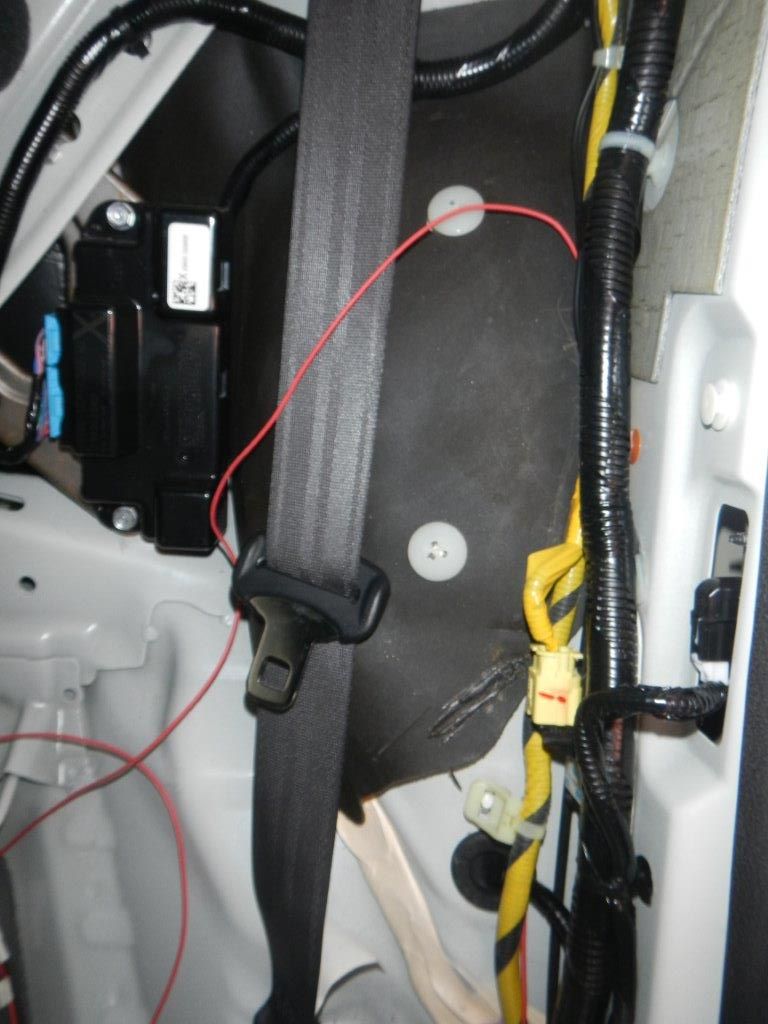

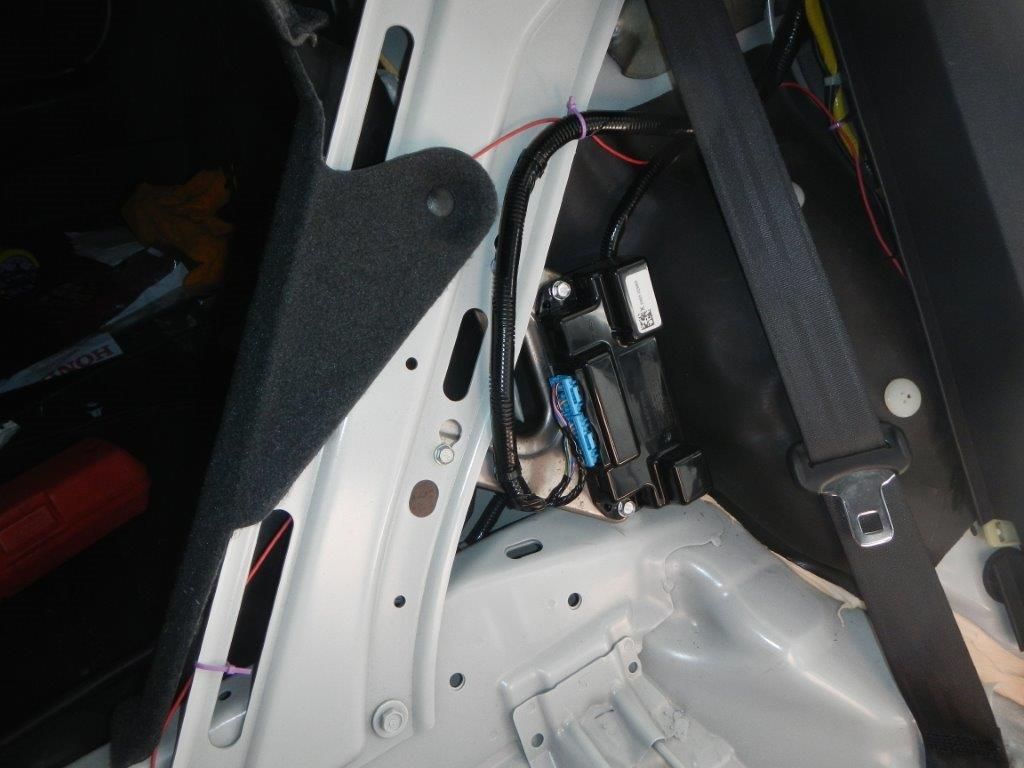
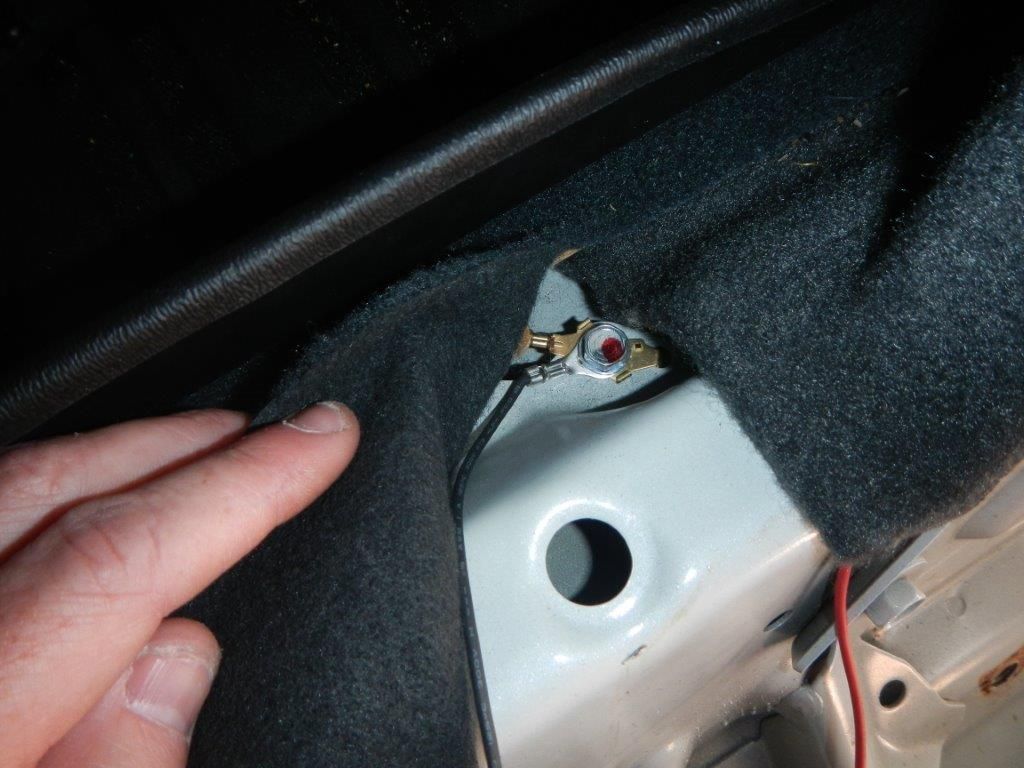
Next, I started to make room on top of the coilovers so that I could place the motors on the coilovers. On the drivers rear side I ziptied the cable bundle as far away as possible from the top of the coilover while still using each of the OEM cable ties and mounts.
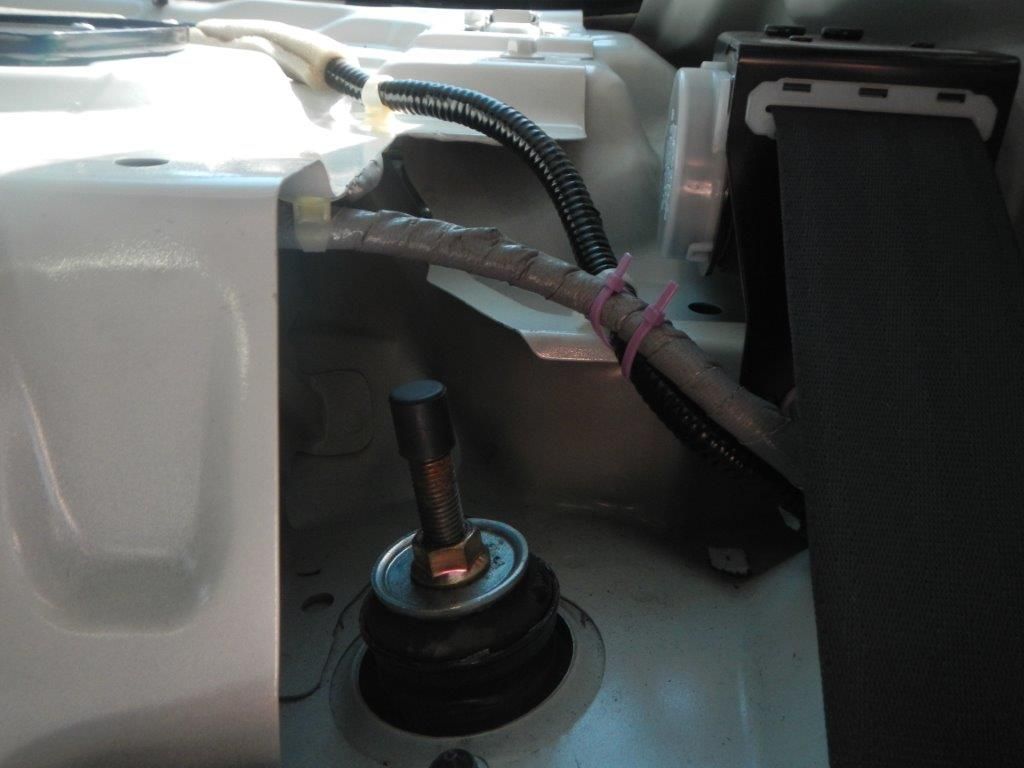
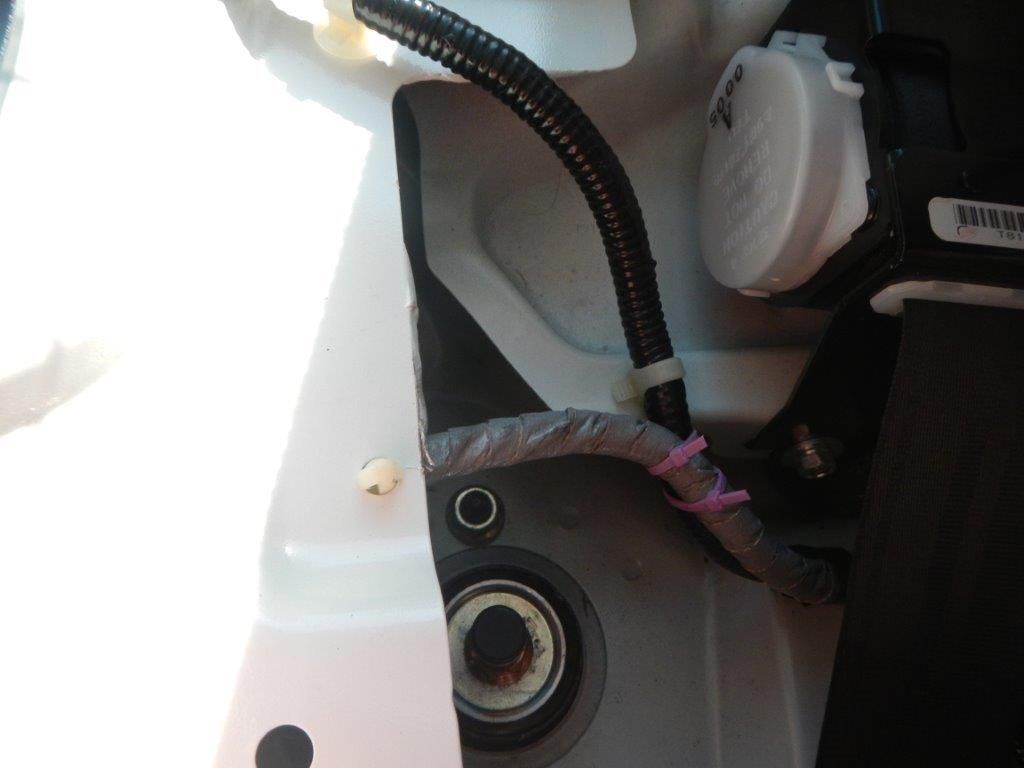
Final setup rear driver
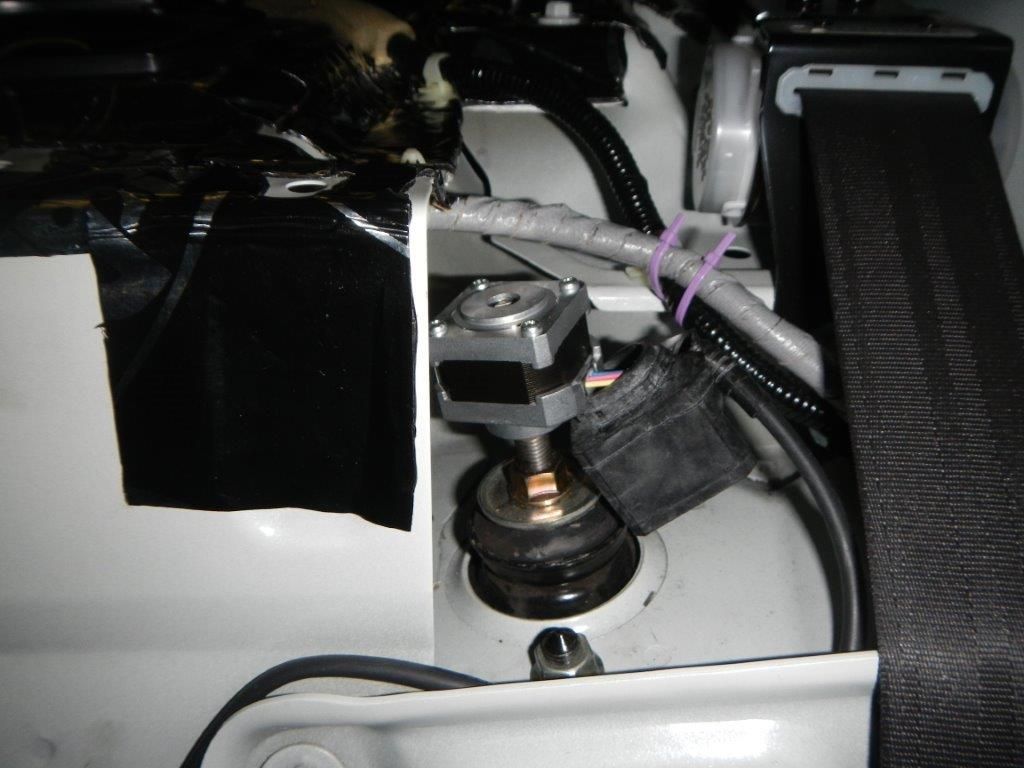
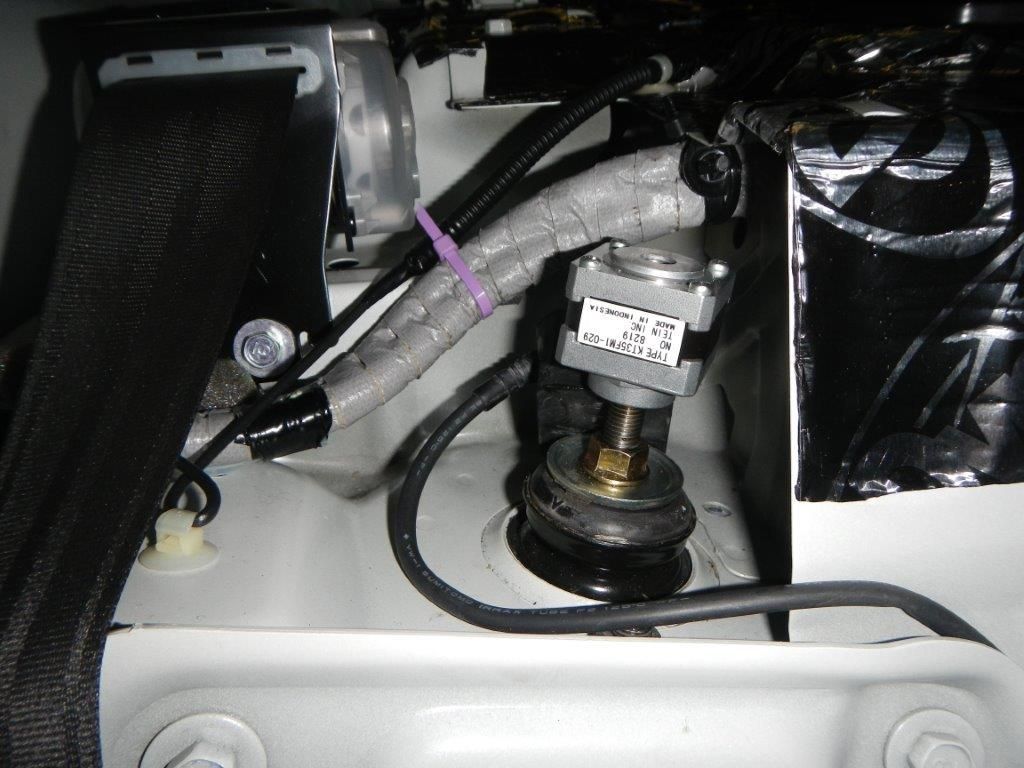
For the passenger rear side, I had to take out some of the OEM cable mounts and then ziptied the bundle away from the coilover otherwise the motor wouldnt fit on that side.
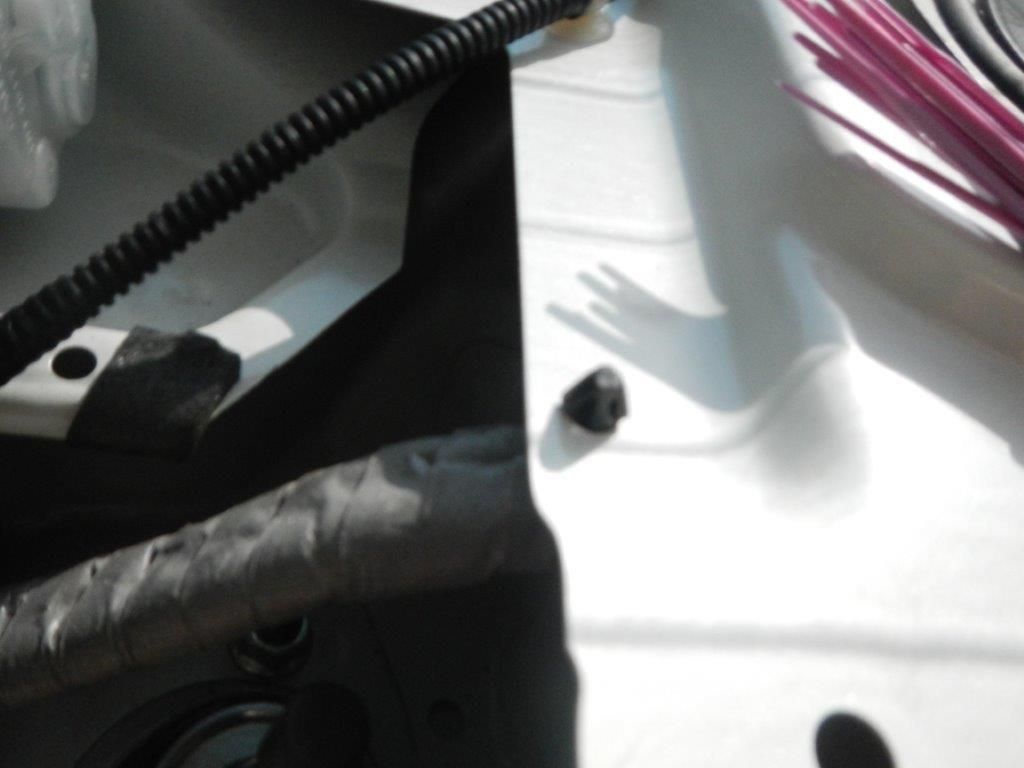
Final setup rear passenger
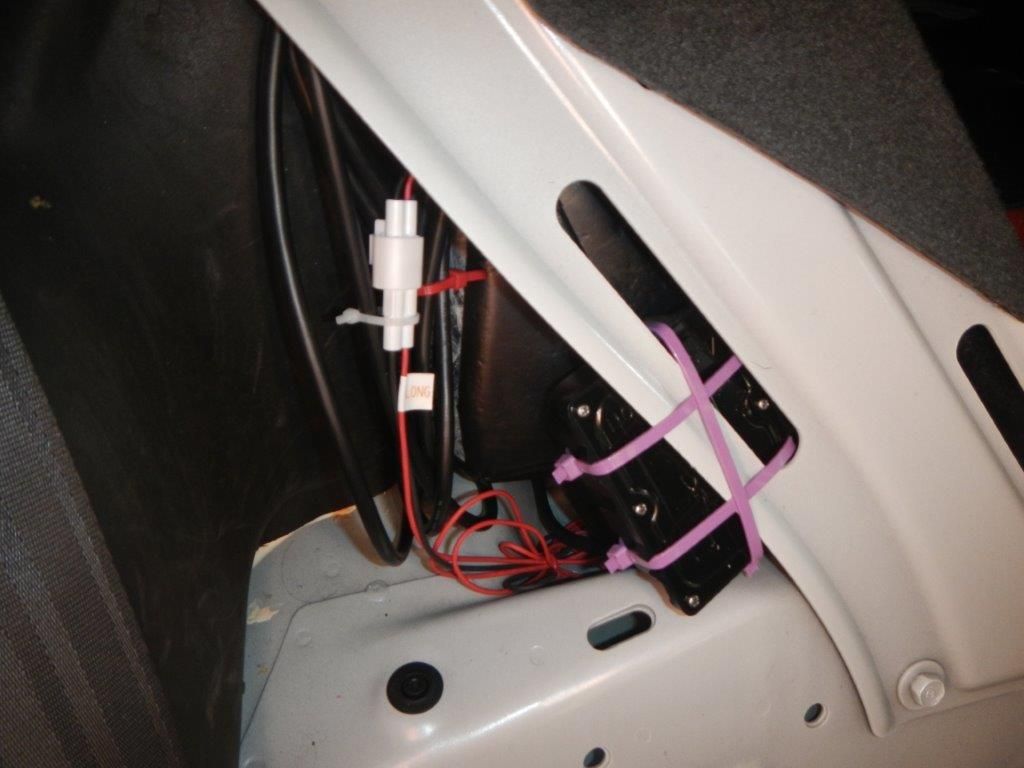
I then mounted the rear controller on the rear passenger side, using the triangle in the frame. There is a nice nook behind the frame where the controller can sit and be ziptied snug. There is also some room for airflow since the controllers get warm under operation. The first two show the original wiring and the later pics show it cleaned up later.

The power cord and the rear drivers side coilover cable were run under the trunk carpet behind the seats.
THE FRONT INSTALL
The front is an easier install because the wiring doesnt need to go far and there is better access.
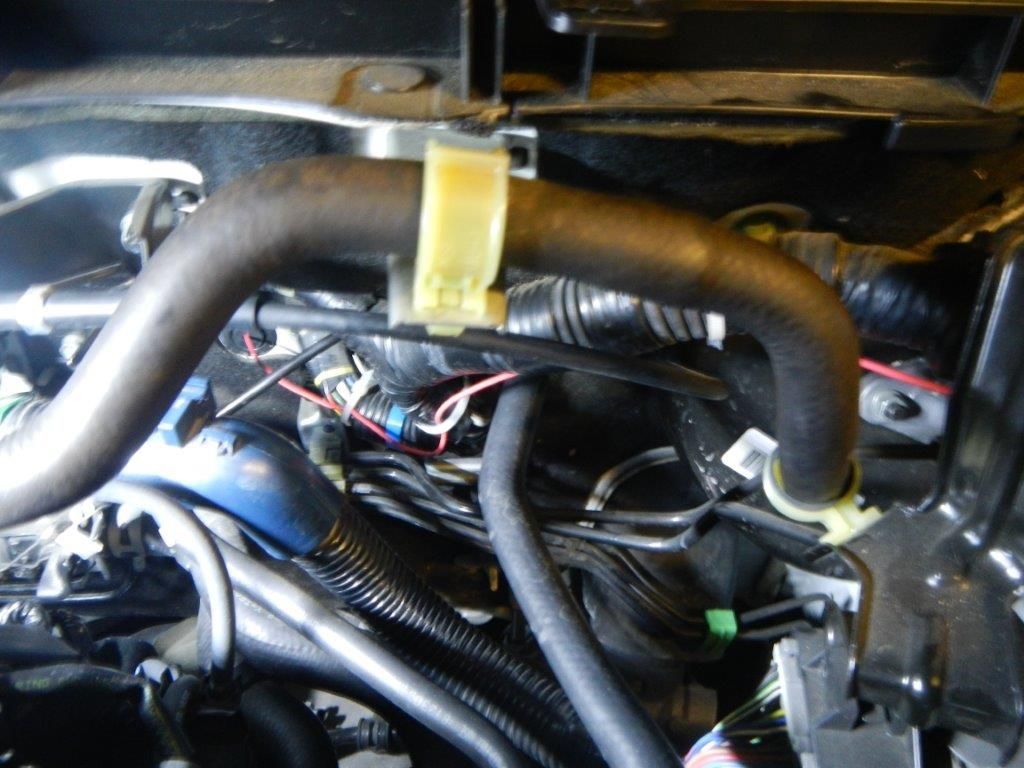
The hardest part of the front install is locating the grommet covering the hole in the firewall and routing the power wire through. The hole can be seen where the yellow foam is this is after the grommet was removed (grommet shown later). The hole is in the very center of the engine bay
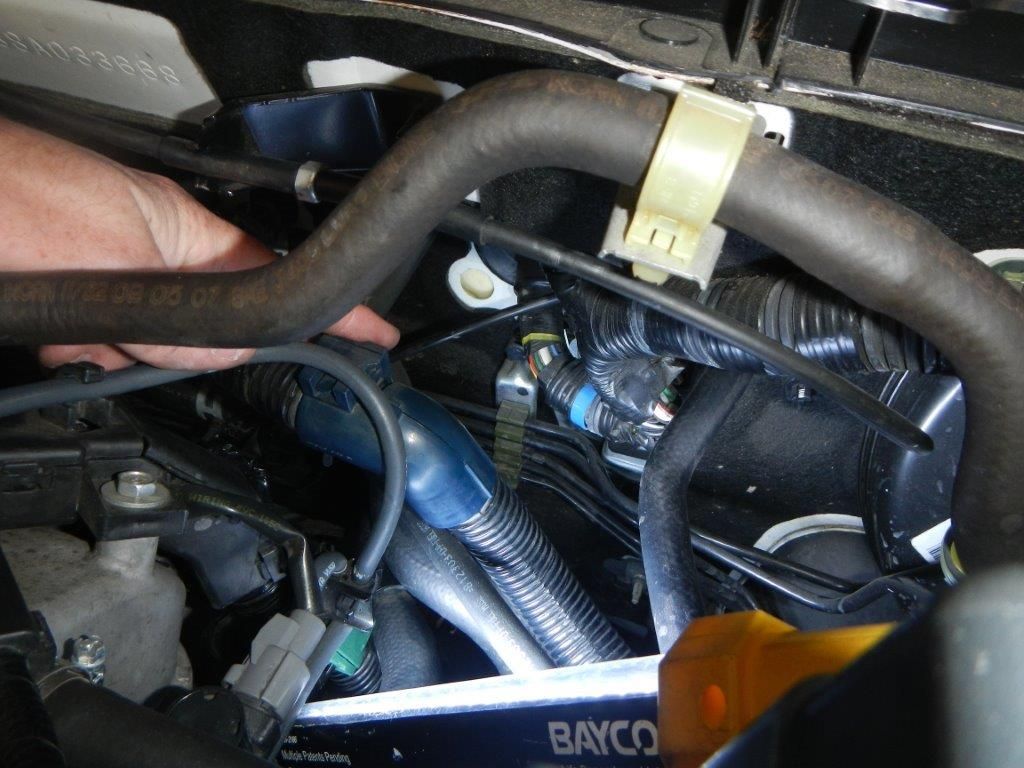
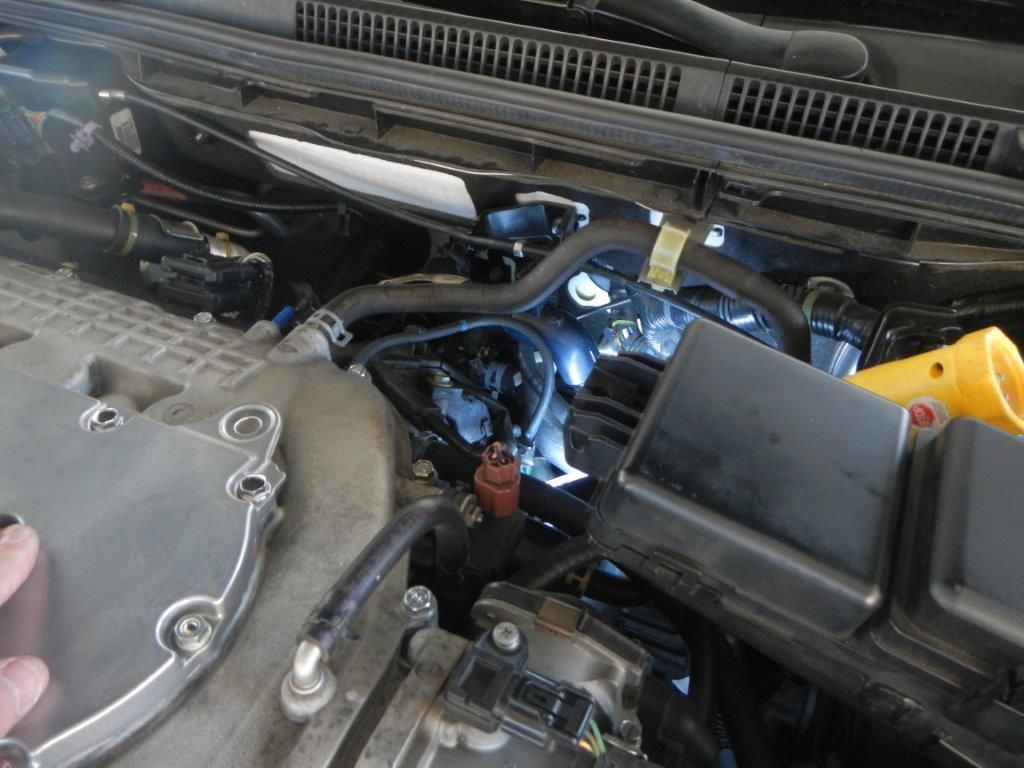
You have to cut the power cord to get it through easier and avoid tugging on the actual connectors. I cut the power cord on the engine bay side and wrapped it around a metal hanger and stuck it through the firewall. You can see where it pops up on the other side (interior of car, behind the radio/nav system). After it comes through, reconnect the wires by crimping or soldering.
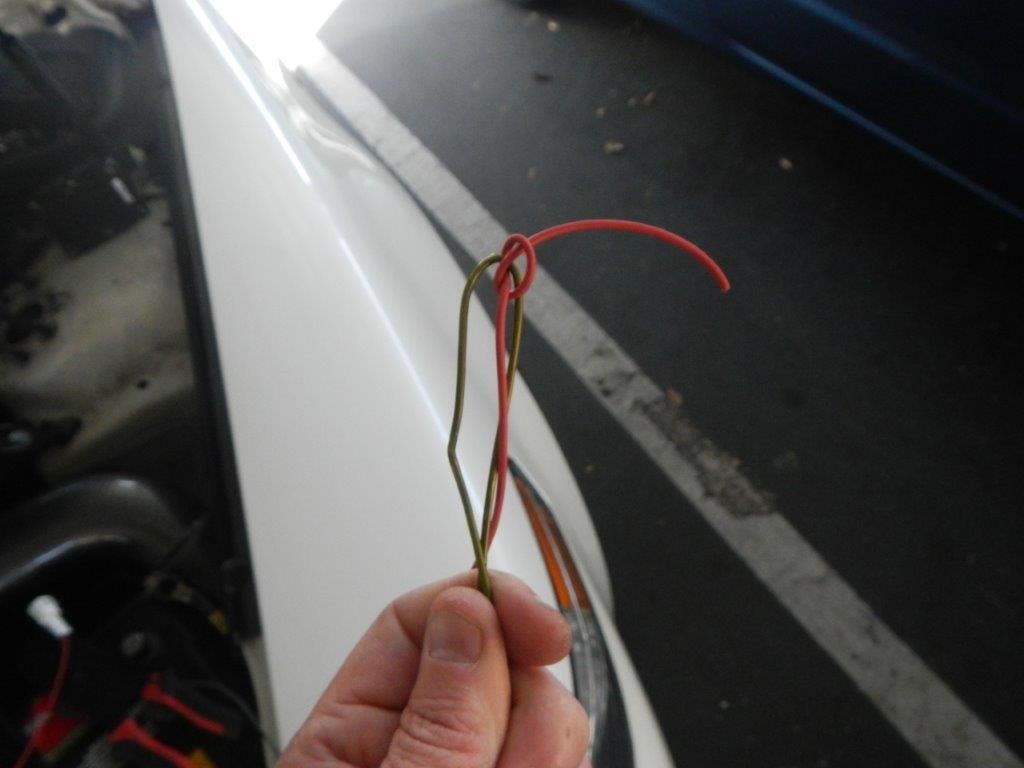
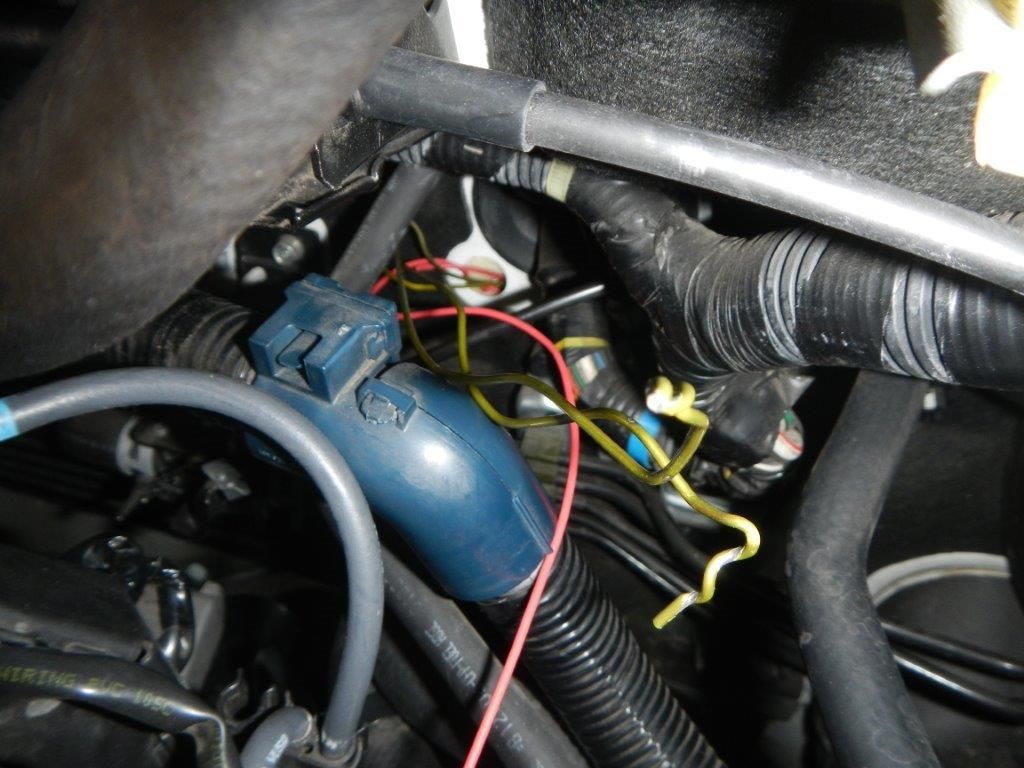
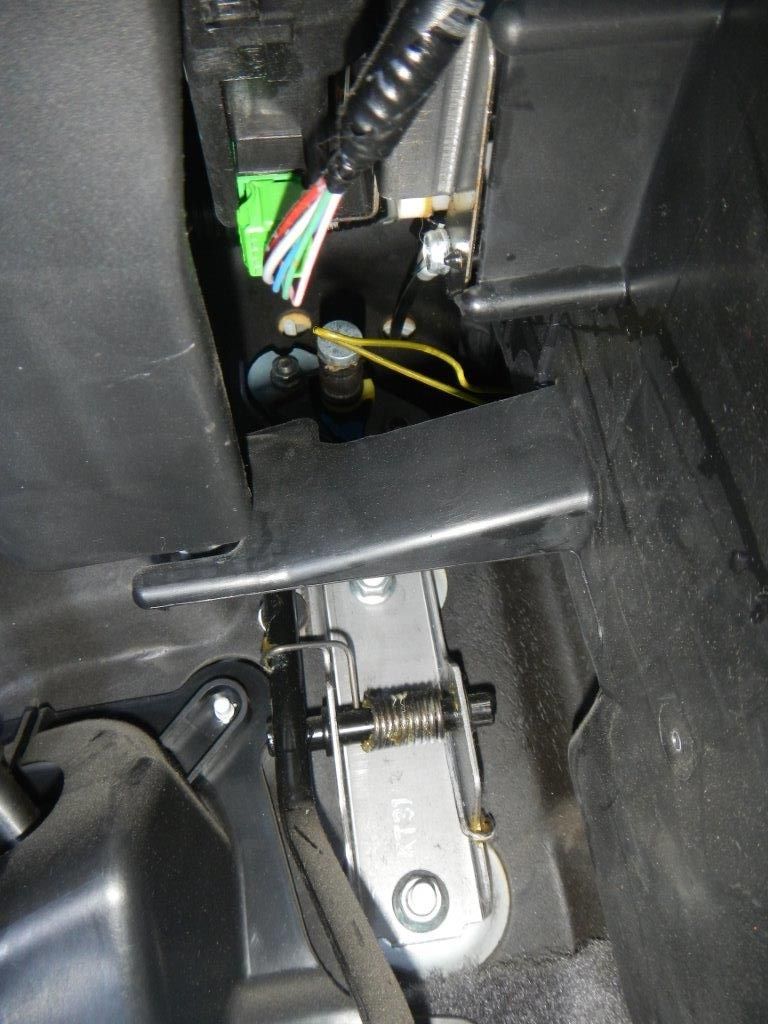
This is the grommet and the cord after going through the firewall. I cut a slit in the grommet for the wire.
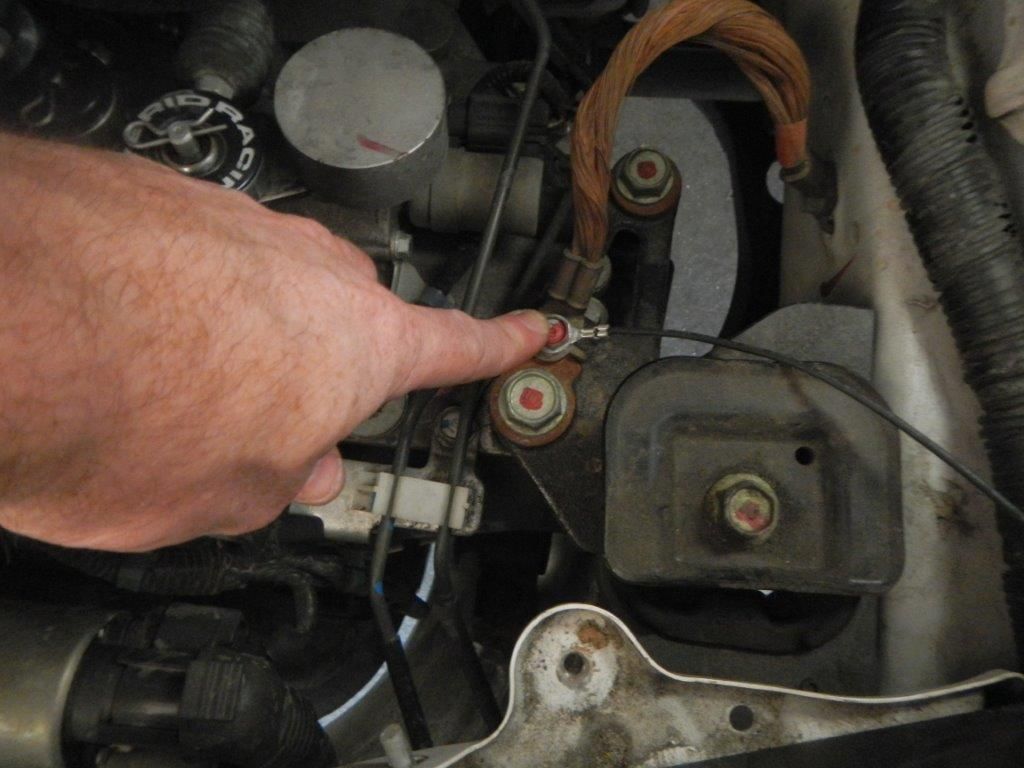
For a ground, I just chose an existing ground location next to the upper transmission mount.
I didnt take pictures of it, but for the coilover cables I just ran it along the accelerator cable and zip tied it to similar brackets. After I put each rubber motor cover on the motors, I sealed off the bottom of the cover with silicone sealant just to be safe. TEIN said this is not necessary unless the motors are inverted, but I figure this would keep out dust and water since this is my daily driver. I also sealed up all connectors at the point where the wires lead into the connectors.
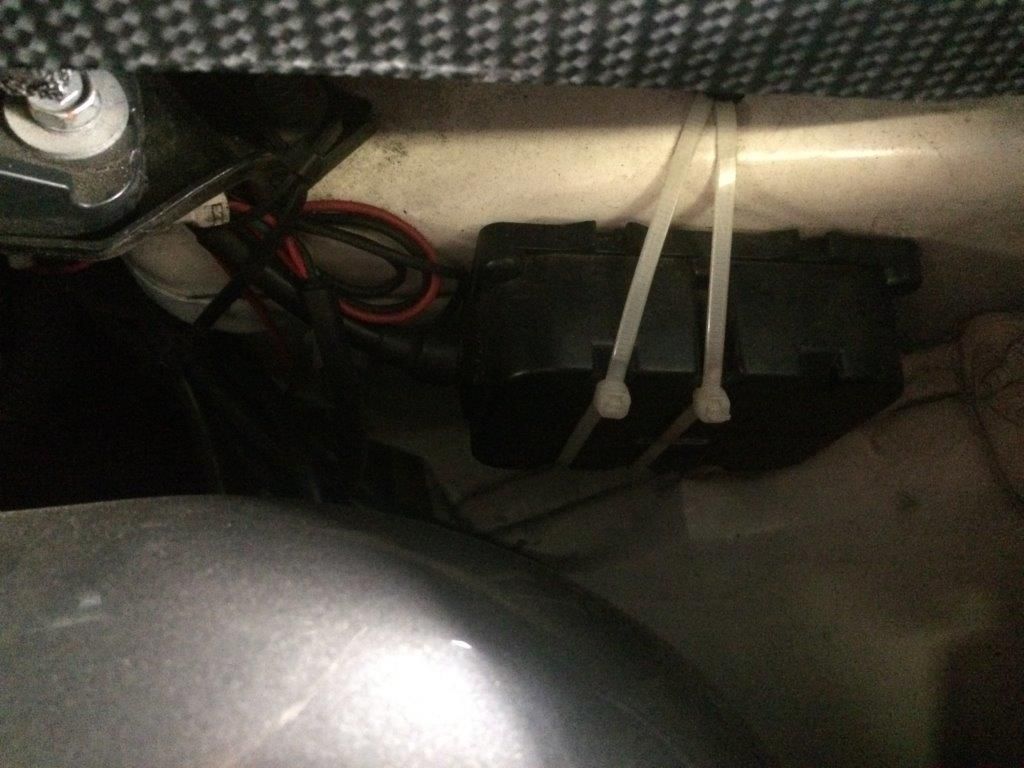
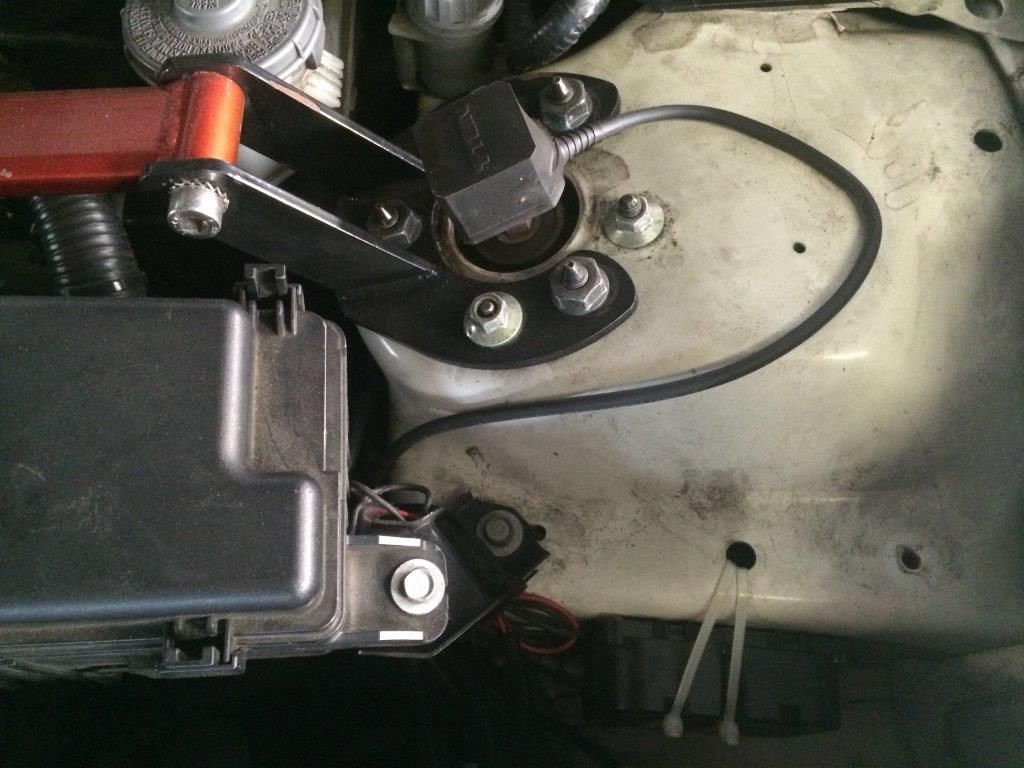
I mounted the front driver unit next to the fuse box under the hood. Its in an area that is not directly exposed to high temperatures or water, and so far there have been no issues. I emailed TEIN these pics and they said there shouldnt be any problem with that location.
The EDFC Active kit has many different display colors, brightness levels, automatic dimming, etc, I decided to go with red to match the Type S interior. The display unit just has double sided tape and it stays on firm. I then routed the power cable and the gps cord towards the steering wheel area and under the dash. You can also see where I placed the GPS sensor, its the black box on the dash near the left side above the vent. It has to have a somewhat open area to link up to satellites
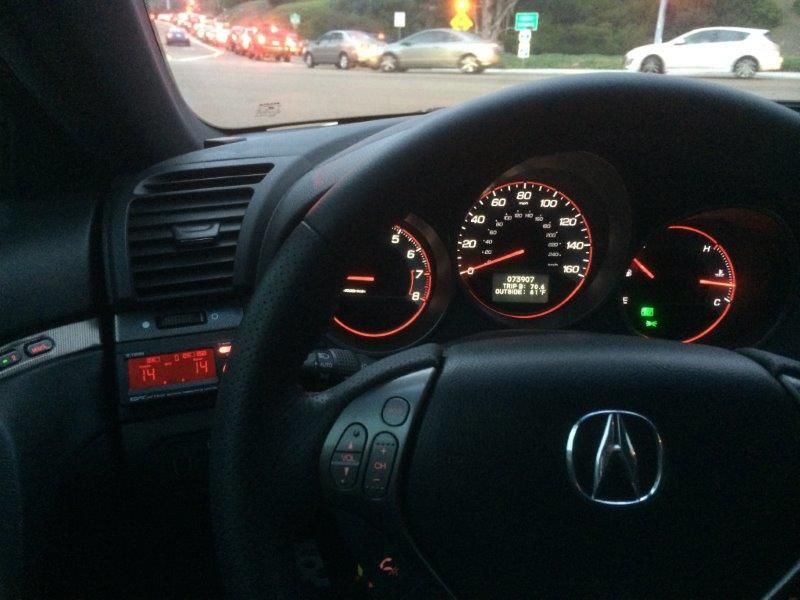
I also put some black Velcro under the air vent (not visible) and made my own small felt cover. I only put the cover on when I park in a sketchy area so that people cant see the display unit when Im not in the car. When I drive, the cover is never on, its in my door pocket. Just the Velcro is there all the time and its not noticeable since its on the underside of a ledge.
